 By
By 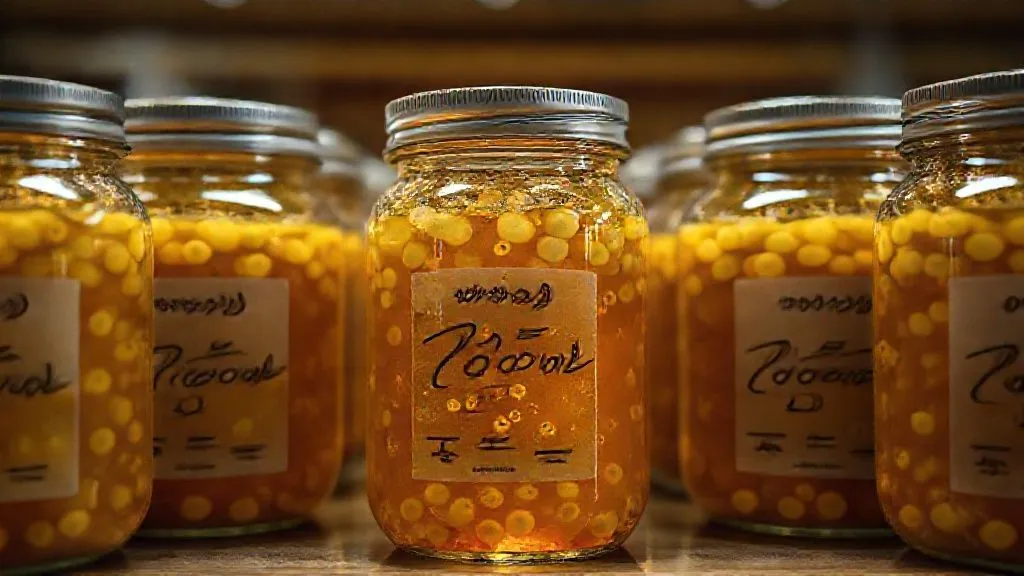
How to achieve consistent flavor in traditional ferments?
For over two decades in the vibrant world of fermentation, I've witnessed countless enthusiasts, from home cooks to small-batch artisans, grapple with a pervasive and often disheartening challenge: inconsistency. There's nothing quite like the thrill of a perfectly balanced batch of kimchi or a delightfully tangy kvass, only to have the next batch fall flat, too salty, or just... different. It's a common lament I hear, a whisper of frustration that echoes through the fermentation community.
This unpredictability isn't just a minor annoyance; it undermines confidence, wastes precious ingredients, and can even deter people from continuing their fermentation journey. You invest time, effort, and care, only to be met with a flavor profile that deviates wildly from your expectations or previous successes. It feels like chasing a ghost, doesn't it? One day you're a fermentation maestro, the next, a bewildered beginner.
But what if I told you that achieving consistent flavor in traditional ferments isn't just a pipe dream? Through years of trial, error, and meticulous observation, I've distilled a set of actionable frameworks and expert insights that will transform your approach. This article isn't just about identifying problems; it's about equipping you with the precise tools and knowledge to turn every batch into a predictable, delicious success, empowering you to master your craft with unparalleled confidence.
The Unseen Variables: Understanding Your Fermentation Ecosystem
Before we can control consistency, we must first understand the myriad factors that influence it. Think of your ferment as a miniature ecosystem, a delicate balance of inputs and conditions. Overlooking even one variable can send your flavor profile veering off course. In my experience, the biggest breakthroughs come from recognizing and respecting this intricate dance.
Starter Culture: The Genetic Blueprint
Your starter culture—be it a sourdough mother, a kombucha SCOBY, or the microbial community on your vegetables—is the genetic heart of your ferment. Its health, activity, and microbial composition dictate the initial direction of flavor development. An old, sluggish starter will yield different results than a vibrant, well-fed one. It's like planting a seed; the quality of the seed profoundly impacts the fruit.
Ingredient Quality: The Foundation of Flavor
This might seem obvious, but it's often underestimated. The ripeness of your fruit, the freshness of your vegetables, even the specific variety of cabbage or cucumber, dramatically impacts the sugars available for fermentation and the inherent flavor compounds. A bland ingredient will almost certainly result in a bland ferment. I've seen batches ruined because someone opted for conventional, unripe produce over peak-season, organic alternatives.
Water Matters: Beyond Just H2O
Water is not inert; it's a critical component. Tap water, laden with chlorine or chloramines, can inhibit beneficial microbes. Hard water, rich in minerals, can affect texture and even flavor by interacting with salts and acids. For years, I've advocated for filtered or spring water, and the difference in consistency is often palpable. It's a subtle change with profound impact.
Expert Insight: "Consistency in fermentation begins long before the ingredients hit the jar. It starts with a deep understanding and meticulous control over your foundational inputs. Neglect the ecosystem, and you'll forever chase elusive flavors."
Precision in Preparation: Standardizing Your Inputs
Once you understand the variables, the next step is to control them with precision. This is where the 'art' of fermentation meets the 'science.' I often tell my students: you can't manage what you don't measure. Standardization is your best friend in the quest for repeatable results.
Weighing, Not Guessing: The Science of Salt
Salt content is perhaps the most critical variable for flavor consistency and microbial control in many ferments. A slight deviation can alter the microbial succession, leading to different acid profiles and textures. Using a kitchen scale to measure salt by weight (typically 2-3% of the total weight of ingredients, including water) is non-negotiable for consistency. Volume measurements are notoriously inaccurate for salt.
Consistent Chopping and Brining
The surface area of your ingredients affects the rate of fermentation and the extraction of flavors. Uniformly chopped or shredded vegetables ferment more predictably than a mix of large and small pieces. Similarly, ensuring your brine fully covers your ingredients is crucial to prevent mold and ensure anaerobic conditions, which favor desirable microbes.
- Step 1: Calibrate Your Scale. Regularly check your kitchen scale for accuracy using a known weight (e.g., a coin or a packaged item).
- Step 2: Measure Ingredients by Weight. Always weigh your vegetables and other solid ingredients. For brined ferments, calculate salt as a percentage of the total weight of vegetables PLUS water.
- Step 3: Uniform Preparation. Use consistent knife skills or a mandoline for uniform slices or shreds. This ensures even microbial access and consistent texture.
- Step 4: Brine Immersion. Use fermentation weights or a sturdy bag filled with brine to keep all solids submerged below the brine line, preventing exposure to oxygen.

Environment is Everything: Temperature, Humidity, and Light
Microbes are living organisms, and like us, they thrive within specific environmental parameters. Temperature is paramount, but humidity and even light exposure play significant, albeit often overlooked, roles in shaping your ferment's journey and final flavor.
The Goldilocks Zone: Ideal Temperature Ranges
Different microbes prefer different temperatures. Lacto-fermentation, for example, often prefers cooler temperatures (60-70°F or 15-21°C) for a slower, more complex flavor development, while some sourdough starters might thrive slightly warmer. Deviations can favor undesirable microbes, leading to off-flavors or stalled activity. I've seen batches become overly sour or even putrid simply because they were left in a sun-drenched window.
Mitigating Environmental Fluctuations
Consistency means minimizing swings. A stable environment is far more important than hitting a single 'perfect' temperature point. Consider using insulated boxes, dedicated fermentation chambers, or even a simple cooler with ice packs/warm water bottles to maintain a consistent temperature, especially if your ambient environment fluctuates wildly. This commitment to stability pays dividends in flavor.
For a deeper dive into how temperature impacts microbial activity and flavor profiles, I highly recommend exploring academic research on fermentation kinetics. A great starting point can be found in studies published by reputable food science journals, such as those indexed on Food Microbiology, which often detail the precise temperature requirements for various microbial strains.
| Ferment Type | Ideal Temperature Range | Flavor Impact of High Temp | Flavor Impact of Low Temp |
|---|---|---|---|
| Lacto-Fermented Vegetables | 60-70°F (15-21°C) | Faster, often more acetic/sour | Slower, milder, sometimes stalls |
| Kombucha | 75-85°F (24-29°C) | Faster, more vinegary, less nuanced | Slower, sweeter, potential mold risk |
| Sourdough Starter | 70-78°F (21-26°C) | More acetic acid, tangier | More lactic acid, milder, slower rise |
The Art of Observation: Monitoring and Documentation
While precision in preparation sets the stage, ongoing observation and meticulous documentation are what allow you to truly learn from each batch and replicate success. This isn't just about noting what happened; it's about understanding *why* it happened.
Sensory Evaluation: Taste, Smell, Sight
Your senses are your most powerful tools. Regularly observe your ferments: what does the brine look like? Are there active bubbles? What does it smell like—fresh, sour, yeasty, or off? And most importantly, taste it. Develop a palate for fermentation, noting the balance of sourness, saltiness, umami, and any developing complexities. These sensory cues are invaluable indicators of your ferment's progress and health.
The Fermentation Log: Your Secret Weapon
I cannot stress the importance of a detailed fermentation log enough. It's the single most impactful habit you can adopt for consistency. Document everything: ingredient sources, weights, water type, starting pH (if you measure it), ambient temperature, daily observations (smell, visual changes, activity), and tasting notes. This log becomes your personal fermentation textbook, allowing you to trace back successes and failures to specific variables.
Case Study: The 'Fermenter's Log' Triumph
Consider Sarah, a dedicated home fermenter who struggled with inconsistent kimchi. One batch was perfectly spicy and tangy, the next was too salty and bland. Frustrated, she started a detailed log. She noted that her best batches were made with Napa cabbage from a specific farmer's market vendor, used a precise 2.5% salt by total weight, and fermented in her pantry where the temperature consistently hovered around 68°F. The bland batches, she discovered, were often made with conventional supermarket cabbage, eyeballed salt measurements, and fermented in her kitchen, which frequently spiked to 75°F. By identifying these variables through her log, Sarah was able to replicate her successful conditions, dramatically reducing inconsistency and achieving her desired flavor profile nearly every time. Her log became her most valuable fermentation tool, turning guesswork into science.
Starter Culture Management: Nurturing Your Microbes
The health and vitality of your starter culture are paramount for consistent fermentation. Think of your starter as a garden; it needs regular care, feeding, and the right conditions to flourish. Neglect it, and it will become weak and unpredictable.
Maintaining a Robust Mother Culture
For ferments requiring a starter (sourdough, kombucha, kefir, etc.), maintaining a strong, active mother culture is non-negotiable. This means regular feeding with quality ingredients (e.g., organic flour for sourdough, black tea and sugar for kombucha), proper storage, and occasional 'refreshing' to ensure the microbial population remains vibrant and balanced. A weak starter will lead to slow, inconsistent, or even failed ferments.
Acclimatization and Activation
Before introducing your starter to a new batch, ensure it's active and ready. For sourdough, this means feeding it and waiting for it to double in size. For kombucha, ensuring your SCOBY is healthy and your starter tea is potent. Rushing this step or using a sluggish starter is a common pitfall that directly impacts the consistency of your final product. The microbes need to be at their peak performance to kickstart the process effectively.
Understanding the science behind starter culture health is crucial. The National Center for Biotechnology Information (NCBI) offers numerous peer-reviewed articles on microbial ecosystems in traditional ferments, providing excellent insights into how to maintain vibrant starter cultures for consistent results. You can often find relevant studies on their PubMed Central database.
Troubleshooting Inconsistencies: Common Pitfalls and Solutions
Even with the best intentions and meticulous planning, inconsistencies can arise. The key is to view these not as failures, but as learning opportunities. My years of experience have taught me that most problems have identifiable causes and actionable solutions.
Off-Flavors: Identifying the Culprit
- Too Salty: Did you measure by weight? Was the salt percentage too high? Solution: Adjust salt content in future batches. If still fermenting, sometimes adding more unsalted ingredients can dilute it (though risky).
- Too Sour/Vinegary: Often due to too long a fermentation, too high a temperature, or an overly active starter. Solution: Shorten fermentation time, lower temperature, or use less starter.
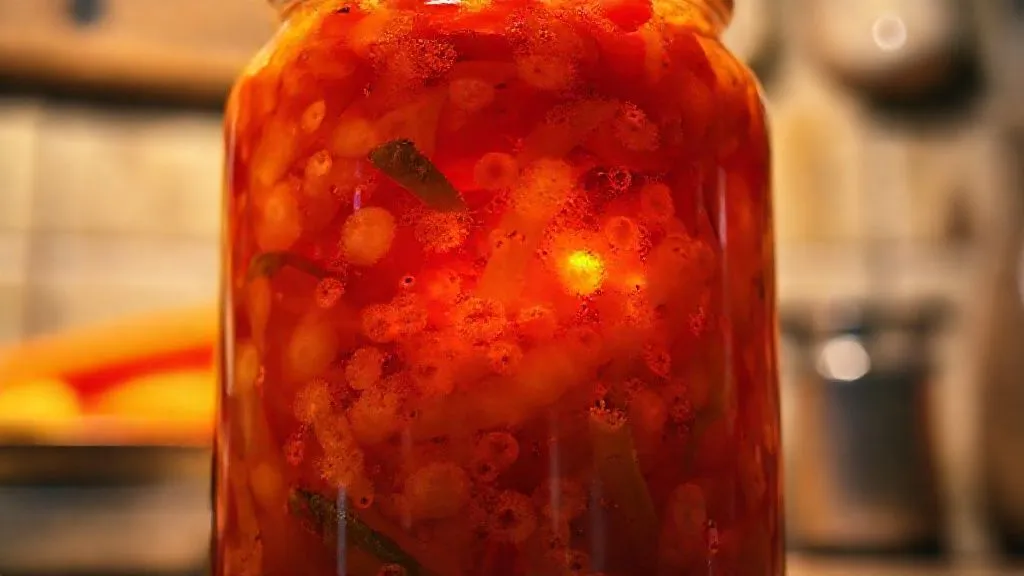
- Yeasty/Alcoholic: Common in fruit ferments or those with high sugar content, or if exposed to too much oxygen. Solution: Ensure anaerobic conditions, reduce sugar, or ferment at a slightly lower temperature.
- Moldy/Fuzzy Growth: Almost always due to oxygen exposure. Solution: Ensure ingredients are fully submerged, use an airlock, or check for cracks in your vessel.
Slow or Stalled Fermentations
If your ferment isn't bubbling or changing as expected, check these common issues:
- Temperature too low: Microbes are sluggish in cold conditions. Solution: Move to a warmer spot within the ideal range.
- Insufficient sugar: If using ingredients with low natural sugars, the microbes might run out of fuel. Solution: Ensure adequate sugar content for the specific ferment.
- Chlorinated water: Chlorine can kill beneficial bacteria. Solution: Use filtered or spring water.
- Weak starter culture: Your starter might not have enough active microbes. Solution: Revitalize your starter or use a fresh, active one.
For comprehensive troubleshooting guides and a deeper understanding of fermentation science, I often recommend resources like the NOMA Guide to Fermentation. While geared towards professionals, its principles are universally applicable. You can find more information on their methodology and techniques here.
Scaling Up and Batch Control: Professional Approaches
Whether you're moving from a single jar to multiple or developing new recipes, applying professional batch control techniques is crucial for maintaining consistency. This isn't just for commercial producers; it's a mindset that elevates your home fermentation.
Small Batch Testing for New Recipes
Never commit to a large batch of a new recipe without testing it on a smaller scale first. This allows you to fine-tune ingredient ratios, salt percentages, and fermentation times without significant waste. Document these small batch tests meticulously in your log, noting every adjustment and its impact on flavor. This iterative process saves time and ingredients in the long run.
Implementing Quality Control Checkpoints
Even for established recipes, implement checkpoints. This involves regular sensory evaluation throughout the fermentation process. Taste at day 3, day 7, day 10, etc., to track flavor development. Use a consistent tasting spoon and method. If you're using a hydrometer or pH meter, take readings at specific intervals. These data points help you understand the ferment's trajectory and intervene if it's deviating from the norm, ensuring how to achieve consistent flavor in traditional ferments.

The principles of quality control in food production are extensively documented. For those interested in a more structured approach to batch consistency, resources from food safety and quality organizations, such as the U.S. Food & Drug Administration (FDA), offer guidelines on process control and product consistency, which, while industrial, provide valuable insights into managing variables.
The Patience Principle: Allowing Time for Flavor Development
In our fast-paced world, it's tempting to rush fermentation. However, some of the most complex and consistent flavors emerge from patience. Understanding optimal fermentation durations and post-fermentation aging is key.
Optimal Fermentation Durations
Every ferment has an 'ideal' window. Pulling it too early results in underdeveloped, one-dimensional flavors. Leaving it too long can lead to excessive sourness, mushiness, or off-notes. Your fermentation log, combined with sensory evaluation, will help you identify this sweet spot for each recipe and ingredient type. This window often varies slightly with temperature, emphasizing the need for consistent environmental control.
Post-Fermentation Aging and Conditioning
Many ferments, especially those like miso, soy sauce, or even some lacto-fermented vegetables, benefit immensely from a period of aging or conditioning after the active fermentation slows down. This allows flavors to meld, mellow, and deepen, leading to a more harmonious and consistent final product. Storing ferments in a cool, dark place (like a refrigerator or root cellar) significantly slows microbial activity, preserving the desired flavor profile you worked so hard to achieve.

Frequently Asked Questions (FAQ)
Can I use different types of salt (e.g., sea salt vs. Himalayan pink salt) interchangeably and still achieve consistency? While different salts can impart subtle mineral notes, the primary factor for consistency is the purity and absence of anti-caking agents or iodine. If you switch salt types, be aware that their density can vary, so always measure by weight, not volume. For true consistency, stick to one type of pure, non-iodized salt (like fine sea salt or pickling salt) for a given recipe.
How does seasonal variation in produce affect my ability to achieve consistent flavor? Seasonal produce inherently has varying sugar content, water content, and microbial loads. This is a significant challenge for consistency. My advice is to embrace it to a degree, but also to adjust. For example, if summer cabbage is sweeter, you might need slightly less sugar in a recipe or expect a faster ferment. Documenting these seasonal differences in your log helps you anticipate and adapt.
What's the best way to clean my fermentation equipment to prevent contamination and maintain consistency? Thorough cleaning is paramount. Use hot, soapy water and rinse extremely well. For an extra layer of security, especially for sensitive ferments, a sanitizing solution (like Star San for brewing, or a diluted bleach solution followed by a thorough rinse) can be used. Ensure all equipment is completely dry before use to avoid diluting your brine or introducing unwanted water.
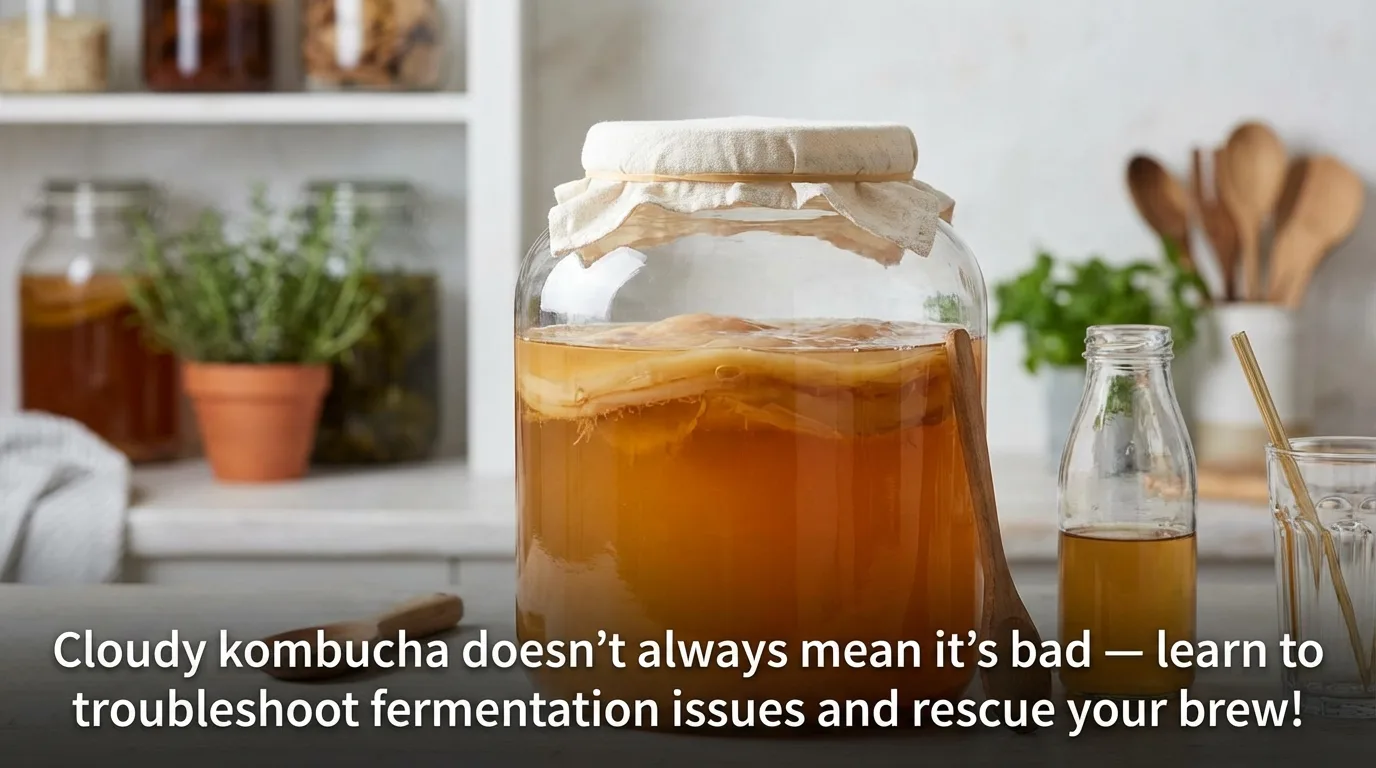
My ferments sometimes develop a white film on top. Is this mold, and how does it impact consistency? A white film is often kahm yeast, which is generally harmless but can impart off-flavors (yeasty, musky) if left unchecked. It's usually a sign of too much oxygen exposure. Carefully skim it off. True mold will be fuzzy, colored (green, black, pink), and should be discarded. Kahm yeast indicates a lack of consistent anaerobic conditions, which will definitely impact your desired flavor profile.
How important is pH monitoring for achieving consistent flavor, especially for beginners? For beginners, sensory evaluation (taste, smell, sight) is often sufficient. However, for advanced consistency, a pH meter is an invaluable tool. It provides an objective measurement of acidity, allowing you to track the fermentation process precisely. You can note the starting pH and target a specific final pH for your desired flavor profile, helping you replicate results more accurately.
Key Takeaways and Final Thoughts
Achieving consistent flavor in traditional ferments is not about luck; it's a direct result of understanding, controlling, and meticulously documenting your process. It's a journey that blends scientific rigor with intuitive observation, turning every batch into a predictable, delicious outcome. Here are the most critical, actionable pieces of advice:
- Standardize Your Inputs: Always measure by weight, especially salt, and ensure uniform ingredient preparation.
- Control Your Environment: Maintain stable temperatures, minimizing fluctuations that stress your microbes.
- Document Everything: Your fermentation log is your most powerful tool for learning and replication.
- Nurture Your Starter: A healthy, active starter culture is the foundation of a successful ferment.
- Observe and Adapt: Use your senses and troubleshoot proactively, viewing inconsistencies as learning opportunities.
- Practice Patience: Allow adequate time for fermentation and aging to develop complex, stable flavors.
Embrace these principles, and you'll find that the frustration of inconsistency gives way to the satisfaction of mastery. The world of traditional fermentation is rich with flavor, and by applying these expert strategies, you're not just making food; you're crafting delicious, reliable traditions, batch after delicious batch. Keep fermenting, keep learning, and savor the consistent excellence you're about to unlock!
Recommended Reading
- 7 Steps: How to Verify Cruelty-Free Vegan Ingredients for Pro Kitchens
- 7 Proven Ways to Stabilize Delicate Chocolate in Warm Environments
- 5-Day Work Week: Master Diverse, Non-Soggy Lunch Meal Prep
- Mastering Salmon: 7 Pro Kitchen Tactics to Consistently Avoid Dryness & Unevenness
- 6 Sous Vide Food Safety Risks: Improper Vacuum Sealing & Prevention

0 Comentários: