 By
By 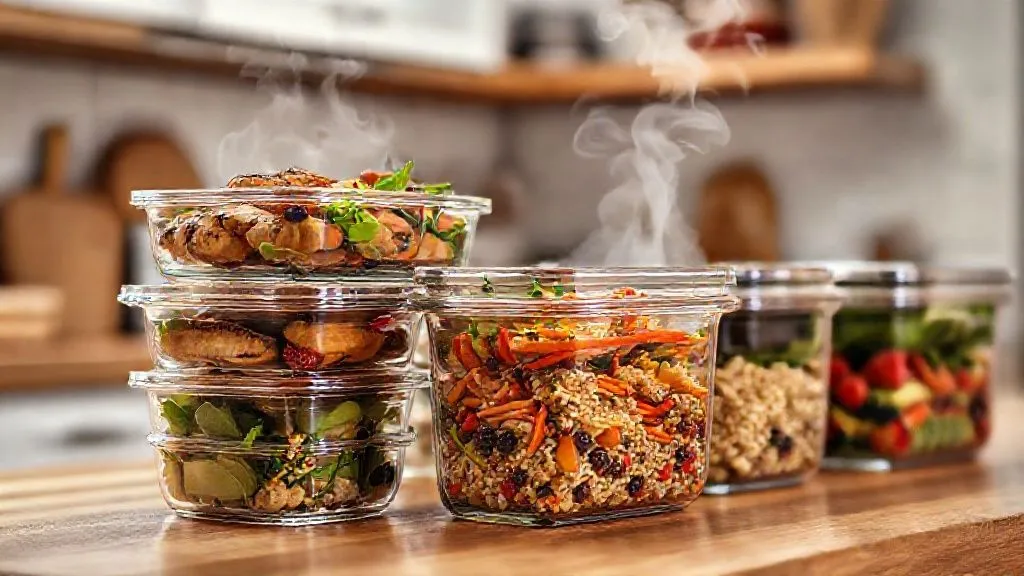
How to ensure beginner meal prep stays fresh for 5 days?
For over 15 years in the culinary world, specializing in efficient and healthy eating, I've seen countless enthusiastic beginners dive into meal prep with the best intentions, only to be met with the disheartening reality of food spoilage just a few days in. It's a common struggle, and one that can quickly dampen your motivation to maintain a healthy, organized eating routine.
The frustration is palpable: you spend hours planning, shopping, cooking, and portioning, only to open your fridge on Wednesday and find your perfectly prepped chicken looking questionable or your vibrant veggies wilting into a sad, soggy mess. This not only leads to wasted food and money but also undermines your efforts to eat well, often pushing you back to less healthy, convenient options.
But what if I told you that achieving 5-day meal prep freshness isn't just a pipe dream? This definitive guide will equip you with the expert knowledge and actionable strategies you need to master the art of long-lasting meal prep. You'll learn the science behind food preservation, discover indispensable tools, and adopt techniques that ensure your meals stay delicious, safe, and appealing all week long. Let's transform your meal prep experience from frustrating to fulfilling.
Understanding the Science of Spoilage: Why Food Goes Bad
Before we can effectively combat spoilage, we need to understand its adversaries. Food spoilage isn't magic; it's a complex interplay of microbiology, chemistry, and physics. As an expert in this field, I can tell you that the primary culprits are:
- Bacteria and Microorganisms: These tiny invaders are everywhere, and given the right conditions (food, moisture, warmth), they multiply rapidly, breaking down food and producing off-flavors, odors, and sometimes toxins.
- Enzymatic Reactions: Naturally occurring enzymes in food continue to ripen and eventually degrade food quality even after harvest or cooking. Think of how an apple browns after being cut; that's enzymatic browning.
- Oxidation: Exposure to air (oxygen) can cause fats to go rancid, vitamins to degrade, and colors to change, especially in cooked foods.
- Moisture Loss or Gain: Too much moisture can create a breeding ground for bacteria and make foods soggy, while too little can dry them out and make them unappetizing.
The key to answering 'How to ensure beginner meal prep stays fresh for 5 days?' lies in controlling these factors. Our goal is to create an environment that inhibits bacterial growth, slows enzymatic activity, and minimizes oxidation and undesirable moisture changes.
The Foundation: Strategic Meal Planning for Longevity
Effective meal prep starts long before you even step into the kitchen. Strategic planning is your first line of defense against spoilage. In my experience, haphazard planning is a common pitfall for beginners.
Choosing the Right Ingredients
Not all foods are created equal when it comes to longevity. Some ingredients hold up far better than others:
- Proteins: Cooked chicken, beef, pork, and firm fish (like salmon or cod) generally hold well. Ground meats and delicate fish may degrade faster.
- Vegetables: Root vegetables (carrots, potatoes), cruciferous veggies (broccoli, cauliflower), and hearty greens (kale, spinach) tend to last longer. High-water content vegetables like cucumber or lettuce can get soggy quickly if not prepped correctly.
- Grains: Cooked quinoa, brown rice, farro, and pasta are excellent staples that maintain texture and freshness.
Component-Based Prep vs. Full Meals
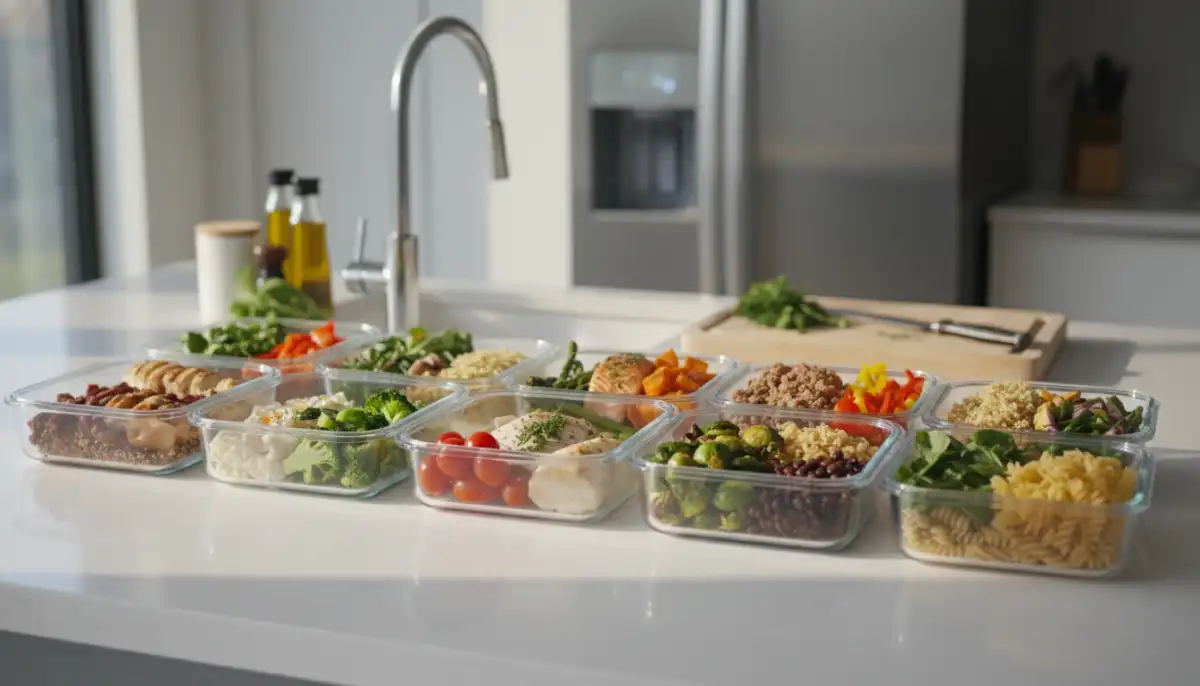
Instead of assembling full meals, consider prepping individual components. This allows you to combine them fresh each day, preventing sogginess and extending overall freshness.
- Cook Proteins Separately: Grill chicken breasts, roast a batch of vegetables, and cook a pot of grains.
- Store Dressings & Sauces Aside: Add them just before eating to prevent salads from wilting or grains from becoming waterlogged.
- Layer Smartly: If assembling a full meal, place wet ingredients (sauces, dressings) at the bottom, followed by grains/proteins, and then greens/crispy toppings.
According to the USDA Food Safety and Inspection Service, understanding the shelf life of individual components is crucial for safe and fresh meal prep.
Mastering Food Preparation Techniques for Extended Freshness
The way you handle and cook your food profoundly impacts its longevity. This is where your expertise truly begins to shine.
Prioritizing Cleanliness and Hygiene
Cross-contamination is a silent enemy. Always:
- Wash your hands thoroughly before and during prep.
- Use separate cutting boards for raw meats and produce.
- Sanitize all surfaces and utensils.
Cooking to Safe Temperatures
Ensure all meats are cooked to their minimum internal temperatures to kill harmful bacteria. Use a food thermometer. This is non-negotiable for food safety and a key step in how to ensure beginner meal prep stays fresh for 5 days.
Rapid Cooling: The Golden Rule
This is arguably the most critical step overlooked by beginners. Food should be cooled from 135°F (57°C) to 70°F (21°C) within 2 hours, and then from 70°F (21°C) to 40°F (4°C) or below within an additional 4 hours. Failure to do so allows bacteria to multiply rapidly in the 'danger zone'.
- Portion Out Hot Food: Don't put a large pot of hot food directly into the fridge. Divide it into smaller, shallow containers to maximize surface area for cooling.
- Ice Bath: For soups, stews, or cooked grains, an ice bath can dramatically speed up cooling.
- Vent Containers: Allow food to cool to at least room temperature (or slightly warmer) before sealing containers tightly. Sealing hot food traps steam, creating condensation that promotes bacterial growth.
Case Study: How Sarah Conquered Soggy Salads and Spoilage
Sarah, a busy marketing professional, started meal prepping to save time and eat healthier. Her initial attempts often resulted in soggy salads and bland, spoiled proteins by Wednesday. She was frustrated and considering giving up. After adopting the rapid cooling technique I emphasize, along with component-based prep, her experience transformed. She started dividing hot rice and chicken into shallow containers immediately after cooking, allowing them to cool on the counter for about 30-45 minutes before loosely covering and refrigerating. She also prepped her salad components separately, assembling them each morning. This simple but critical change ensured her meals stayed vibrant and safe for the full five days, significantly reducing food waste and boosting her confidence in meal prepping.

The Container Conundrum: Choosing the Right Tools for Storage
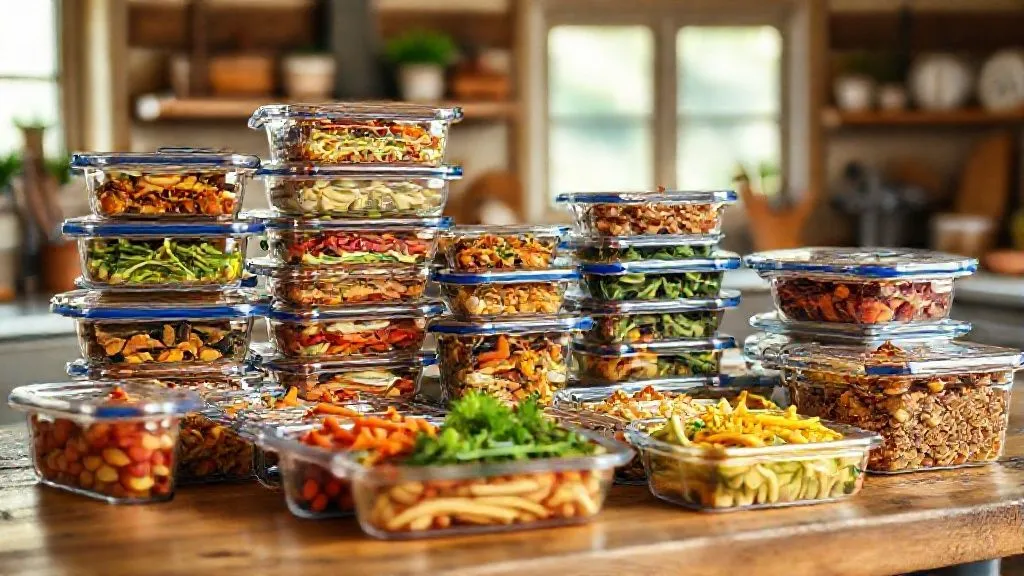
Your containers are more than just vessels; they are guardians of freshness. The right choice can make all the difference in how to ensure beginner meal prep stays fresh for 5 days.
Airtight Seals are Non-Negotiable
Exposure to air leads to oxidation and allows airborne bacteria to settle. Look for containers with tight-fitting, airtight lids. Silicone seals are often superior to simple snap-on plastic lids.
Material Matters: Glass vs. Plastic vs. Silicone
| Material | Pros | Cons |
|---|---|---|
| Glass | Non-porous, no staining/odors, microwave/oven safe, durable, eco-friendly | Heavy, breakable, more expensive |
| Plastic | Lightweight, affordable, freezer-safe | Can stain/retain odors, potential for chemical leaching, less durable, not always microwave/oven safe |
| Silicone | Flexible, collapsible, lightweight, freezer/oven/microwave safe, eco-friendly | Can be pricey, less rigid, some odors can cling |
While plastic is convenient and affordable, I always recommend investing in high-quality glass containers, especially for cooked meals. They are non-porous, meaning they won't absorb food odors or colors, are easy to clean, and can go from fridge to microwave or oven safely. This minimizes transferring food, reducing contamination risks.
Portion Control and Organization
Use appropriately sized containers. Overpacking can lead to uneven cooling and potential spoilage, while under-filling leaves too much air space. Compartmentalized containers are excellent for keeping components separate.

Refrigeration and Freezing: Optimal Storage Temperatures & Practices
Once prepped and properly cooled, your meals need a cold, consistent environment to thrive for five days.
Refrigeration Best Practices
- Maintain 40°F (4°C) or Below: Your refrigerator's temperature is paramount. Invest in a fridge thermometer to ensure it consistently stays at or below 40°F (4°C). Temperatures above this dramatically accelerate bacterial growth.
- Proper Placement: Avoid placing meal prep containers in the fridge door, as this area experiences the most temperature fluctuations. Store them on the main shelves, ideally towards the back where temperatures are coldest and most stable.
- Don't Overpack: An overstuffed fridge restricts airflow, leading to uneven cooling and warmer spots. Allow space around your containers for air to circulate efficiently.
- Label and Date: Always label your containers with the date of preparation and the contents. This helps you track freshness and ensures you consume meals within the 5-day window.
When to Consider Freezing
While the focus here is on 5-day freshness, some components or full meals can be frozen for longer storage (weeks to months). This is particularly useful for things like:
- Soups and stews
- Cooked grains (rice, quinoa)
- Cooked meats (chicken, ground beef)
- Certain vegetables (blanched broccoli, carrots)
Ensure foods are completely cooled before freezing, and use freezer-safe, airtight containers or bags to prevent freezer burn. Thaw frozen meals safely in the refrigerator overnight, never on the counter, as advised by the FDA's safe food handling guidelines.
Smart Reheating and Serving: Keeping Food Safe and Delicious
The final step in your meal prep journey is reheating and serving. Done incorrectly, this can undo all your hard work in preserving freshness and safety.
Reheat Thoroughly to 165°F (74°C)
Always reheat your cooked meals to an internal temperature of 165°F (74°C). This ensures any lingering bacteria are killed. Use a food thermometer to check. Stir food halfway through reheating to ensure even heating, especially in a microwave.
Reheat Only What You'll Eat
Avoid reheating a large batch of food only to put leftovers back in the fridge. This repeated temperature cycling is a prime cause of bacterial growth. Portion out exactly what you intend to consume and reheat just that amount.
Avoid Multiple Reheats
As a general rule, try to avoid reheating food more than once. The quality and safety degrade with each cycle. If you've cooked it, chilled it, and reheated it, it's best consumed immediately.
Serving Tips for Maximum Enjoyment
- Add Fresh Elements: A squeeze of fresh lemon, a sprinkle of fresh herbs, or some toasted nuts can revive a reheated meal.
- Texture Contrast: If possible, add a fresh, crunchy element like chopped raw veggies or croutons just before eating to counteract any softness from reheating.

Common Pitfalls and How to Avoid Them in Beginner Meal Prep
Even with the best intentions, beginners often fall into predictable traps that compromise freshness. I've guided countless individuals through these common mistakes, and here's how you can sidestep them:
- Not Drying Produce Properly: Washing greens is good, but if they go into a container still wet, they'll turn soggy and spoil rapidly. Invest in a salad spinner or pat them thoroughly dry.
- Packing Hot Food: As discussed, this is a major culprit. Always cool food rapidly and completely before sealing and refrigerating.
- Ignoring Signs of Spoilage: If it smells off, looks slimy, or has visible mold, don't risk it. "When in doubt, throw it out." Your health is not worth the risk.
- Using Subpar Containers: Flimsy plastic containers that don't seal properly are a false economy. They won't protect your food.
- Overestimating Shelf Life: While we aim for 5 days, some very delicate foods might only last 3-4. Be realistic and prioritize safety.
Expert Insight: "The biggest mistake beginners make isn't in the cooking itself, but in the post-cooking handling. Mastering rapid cooling and airtight storage is the true game-changer for extending meal prep freshness."
Another common mistake is not considering how different foods interact. For example, don't store cut apples directly with cooked fish; the apple might absorb the fish odor. Keep strong-smelling foods in extra-sealed containers.

Frequently Asked Questions (FAQ)
Q: Can I prep raw ingredients like chopped vegetables ahead of time for 5 days? A: For optimal freshness, some raw vegetables like carrots, celery, and bell peppers hold up well when chopped and stored in airtight containers, sometimes with a damp paper towel. Delicate greens or high-water content veggies like cucumber are best chopped closer to consumption or stored whole and prepped daily. Always ensure they are thoroughly dry before storing.
Q: How do I know if my meal prepped food is still good after a few days? A: Trust your senses. Look for changes in color (e.g., green vegetables turning brownish, meats becoming greyish), texture (sliminess, mushiness), and smell (sour, off-putting odors). If you see mold, definitely discard it. If there's any doubt, it's always safer to throw it out.
Q: What are the best types of meals for 5-day meal prep longevity? A: Hearty, cooked dishes tend to last best. Think grain bowls with roasted vegetables and cooked protein, stews, chilis, baked chicken and sturdy root vegetables, or pasta dishes with robust sauces. Avoid meals with very delicate components or those that rely heavily on fresh crunch that will degrade quickly.
Q: Is it safe to freeze meal prepped food if I can't eat it within 5 days? A: Absolutely! Freezing is an excellent way to extend the life of many meal prepped items. Ensure the food is completely cooled before freezing, use freezer-safe containers, and label clearly with the date. Thaw frozen meals in the refrigerator overnight before reheating thoroughly.
Q: What about sauces and dressings? Should I prep them with the meal? A: For optimal freshness and to prevent sogginess, it's almost always best to store sauces and dressings separately and add them just before eating. This is especially true for vinaigrettes, yogurt-based dressings, and any sauce that might alter the texture of your main ingredients over time.
Key Takeaways and Final Thoughts
Mastering how to ensure beginner meal prep stays fresh for 5 days is a skill that will profoundly impact your health, your wallet, and your peace of mind. It's not about complex recipes but about meticulous planning, proper technique, and a deep understanding of food safety. Remember these critical takeaways:
- Plan Smart: Choose long-lasting ingredients and consider component-based prep.
- Cool Rapidly: This is your superpower against bacterial growth. Divide hot food into shallow containers and cool quickly.
- Container Excellence: Invest in airtight, preferably glass, containers.
- Temperature Control: Keep your fridge at 40°F (4°C) or below and avoid overpacking.
- Reheat Safely: Always bring food to 165°F (74°C) and only reheat what you'll consume.
Don't be discouraged by initial mishaps. Every seasoned meal prepper has learned these lessons through trial and error. By applying the expert strategies outlined in this guide, you're not just preparing food; you're building a sustainable habit for a healthier, more organized life. Embrace the process, stay diligent, and enjoy the delicious, fresh rewards of your efforts all week long!
Recommended Reading
- 5 Pro Strategies: Preventing Dry BBQ When Holding Large Quantities for Catering
- Kahm Yeast Crisis? 7 Steps to Rescue Your Large Kombucha Batch
- 7 Proven Strategies: Preventing Cork Taint & Off-Flavors in Aged Wine
- 9 Proven Strategies to Retain Top Talent Without Boosting Salary Budgets
- Stop Gummy Sourdough: 7 Expert Steps for Fluffy 100% Whole Wheat Loaves

0 Comentários: