 By
By 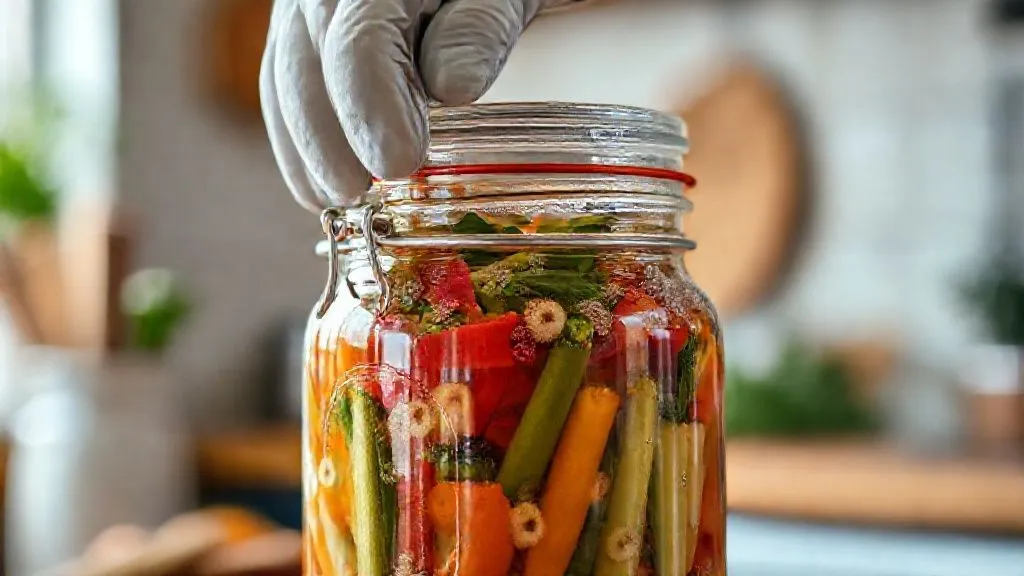
How to Prevent Botulism Risk in Low-Acid Vegetable Ferments?
For over two decades, as I've guided countless enthusiasts through the art and science of food preservation, I’ve noticed a persistent shadow looming over one of the oldest and most fascinating methods: fermentation. Specifically, the fear surrounding botulism in low-acid vegetable ferments. It's a legitimate concern, and I’ve seen firsthand how this apprehension can deter passionate home preservers from exploring the incredible world of lacto-fermentation, or worse, lead to unsafe practices born from misinformation.
The whisper of 'botulism' is enough to make anyone pause. And rightly so, as Clostridium botulinum is a serious pathogen. However, the beauty of traditional fermentation, when understood and executed correctly, is its inherent safety mechanisms. The problem isn't fermentation itself, but often a lack of precise knowledge regarding the specific conditions that make low-acid ferments safe, and how they differ from high-acid counterparts.
Today, I'm going to pull back the curtain on this often-misunderstood topic. You'll learn not just what botulism is, but exactly how to prevent botulism risk in low-acid vegetable ferments, armed with actionable steps, expert insights, and the confidence to ferment safely and deliciously. My goal is to equip you with a robust framework for peace of mind, transforming fear into informed vigilance.
Understanding the Enemy: Clostridium Botulinum and Its Habitat
Before we can effectively prevent a problem, we must first understand its nature. Clostridium botulinum is a fascinating, albeit dangerous, bacterium. It's an obligate anaerobe, meaning it thrives in oxygen-free environments, and it produces extremely potent neurotoxins. These toxins, not the bacteria themselves, are what cause botulism, a rare but severe paralytic illness.
What is Clostridium Botulinum?
This bacterium exists as spores, which are incredibly resilient. These spores are ubiquitous, found naturally in soil, dust, and even on the surfaces of many vegetables. Under the right conditions – specifically, a low-oxygen environment, a specific temperature range (typically above 40°F/4.4°C and below 120°F/49°C), sufficient moisture, and a pH above 4.6 – these spores can germinate, grow, and produce toxins. Fermentation, by its very nature, creates an anaerobic environment, which is why understanding pH control is absolutely critical.
Why Low-Acid Ferments Are Different
Many common ferments, like sauerkraut or traditional dill pickles, are naturally high in acid, meaning their pH quickly drops well below 4.6. This acidic environment is hostile to C. botulinum, preventing spore germination and toxin production. Low-acid vegetables, however, start with a higher pH, and some, if not properly managed, might not acidify quickly or sufficiently enough to guarantee safety. This category often includes green beans, corn, certain root vegetables, or anything that doesn't naturally contain a high sugar content for rapid lactic acid fermentation. This distinction is paramount for safe practice.
In my experience, the single biggest misconception is assuming all ferments are equally safe without understanding their starting pH and the rate of acidification. Knowing your ingredients is your first line of defense.
The good news is that lactic acid fermentation, when properly initiated and monitored, produces enough lactic acid to drop the pH below the danger zone. The goal is to ensure this acidification happens reliably and consistently. For more detailed information on Clostridium botulinum, I highly recommend consulting the Centers for Disease Control and Prevention (CDC) website.
The Core Principle: Acidity is Your Ally
The cornerstone of preventing botulism in any food preservation method, especially fermentation, is acidity. Clostridium botulinum spores cannot germinate and produce their dangerous toxins in an environment with a pH below 4.6. This scientific fact is our most powerful tool.
The Role of Lactic Acid Bacteria (LAB)
Lactic Acid Bacteria (LAB) are the heroes of fermentation. These beneficial microorganisms naturally present on vegetables (or introduced via a starter culture) consume sugars present in the vegetables and convert them into lactic acid, acetic acid, and other compounds. This process not only preserves the food and develops complex flavors but, crucially, lowers the pH of the ferment. A robust population of LAB is essential for rapid and effective acidification, outcompeting any potential spoilage organisms or pathogens, including C. botulinum.
Monitoring pH: Your First Line of Defense
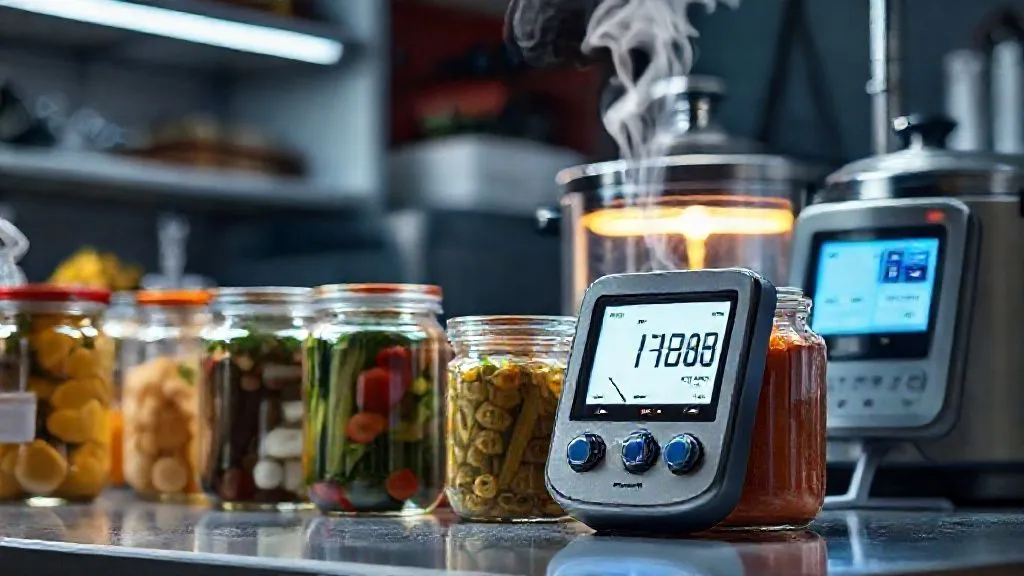
While sensory evaluation (smell, taste, texture) is important, it's not enough when safety is concerned. A pH meter or pH strips are indispensable tools for anyone fermenting low-acid vegetables. These tools allow you to objectively measure the acidity of your ferment, providing concrete evidence that it has reached a safe pH level.
- Invest in a Reliable pH Meter: While pH strips can give a general idea, a digital pH meter offers far greater accuracy. Look for one with a range appropriate for food (0-14) and easy calibration.
- Calibrate Regularly: pH meters require calibration with buffer solutions (pH 4.0 and pH 7.0) to ensure accuracy. Do this before each batch or at least weekly during active fermentation.
- Test Your Brine: After a few days of fermentation, and then periodically, take a small sample of the brine and test its pH. For low-acid vegetables, your target pH should be 4.6 or below, ideally closer to 4.0-4.2 for extra assurance.
- Document Your Readings: Keep a fermentation log! Note the date, ingredients, salt percentage, temperature, and pH readings. This helps you understand your process and troubleshoot if issues arise.
If, after a week or two, your low-acid ferment has not reached a pH of 4.6 or lower, it should be discarded. Do not risk it. This is where your vigilance truly pays off.

Step-by-Step Prevention: A Multi-Layered Approach
Preventing botulism in low-acid vegetable ferments isn't about a single magic bullet; it's about implementing a series of overlapping safety measures. Each step contributes to creating an environment where beneficial bacteria thrive and pathogens cannot.
1. Start with Cleanliness: Sanitation is Paramount
Contamination from undesirable microorganisms can compete with your beneficial LAB, slowing down acidification and potentially leading to spoilage. While sterilization isn't necessary (as we want the good bacteria), thorough cleaning is crucial.
- Wash Hands Thoroughly: Before handling any ingredients or equipment, wash your hands with soap and hot water for at least 20 seconds.
- Clean Vegetables: Rinse vegetables under cold running water to remove dirt and debris. Avoid harsh soaps or sanitizers, as they can remove beneficial bacteria.
- Sanitize Equipment: Jars, lids, weights, and any utensils that will come into contact with your ferment should be thoroughly washed in hot, soapy water, rinsed well, and then optionally sanitized. A common sanitization method is to immerse them in boiling water for 10 minutes or use a food-grade sanitizer solution (like Star San) according to manufacturer instructions.
2. The Right Salt: More Than Just Flavor
Salt plays several critical roles in lacto-fermentation. It draws water out of the vegetables to create brine, inhibits spoilage bacteria, and, crucially, favors the growth of lactic acid bacteria over less desirable microorganisms.
- Use Non-Iodized Salt: Iodine and anti-caking agents found in table salt can inhibit LAB and affect the clarity and flavor of your ferment. Always use pure sea salt, pickling salt, or kosher salt without additives.
- Precise Salt Concentration: For most vegetable ferments, a salt concentration of 2-3% by weight (of vegetables + water) is ideal. For low-acid vegetables, I often lean towards the higher end (2.5-3%) to provide a slightly stronger initial inhibitory effect against undesirable microbes while the LAB get established.
- Weigh, Don't Measure: Salt's density varies. For accuracy, always weigh your salt using a kitchen scale. For example, for 1000g of vegetables and 500g of water, a 2% salt solution would require 30g of salt (1500g * 0.02).
Precision with salt is non-negotiable for safe and successful fermentation. Eyeballing it is a recipe for inconsistency, and potentially, risk.
3. Submerge and Seal: Creating the Anaerobic Environment
As mentioned, C. botulinum thrives in anaerobic conditions, but so do our beneficial LAB. The key is to ensure the LAB dominate quickly. Keeping vegetables submerged beneath the brine creates the necessary anaerobic environment for LAB while simultaneously preventing exposure to oxygen, which can lead to mold growth (another spoilage indicator).
- Use Fermentation Weights: Glass weights are excellent for keeping vegetables submerged. Ensure all solid material is beneath the brine line.
- Airlocks or Fermentation Lids: These allow gases produced during fermentation to escape without allowing oxygen or contaminants to enter. This maintains the anaerobic environment and prevents airborne mold spores from landing on your ferment.
- Top Up Brine if Needed: If the brine level drops, top it up with a 2-3% salt solution (made with non-chlorinated water) to keep vegetables fully submerged.

4. Temperature Control: The Unsung Hero
Temperature significantly impacts the rate and success of fermentation. Too cold, and fermentation slows to a crawl, giving spoilage organisms a chance. Too warm, and it can ferment too quickly, leading to off-flavors, or worse, encouraging the growth of less desirable bacteria.
- Ideal Range: Most vegetable ferments thrive between 65-75°F (18-24°C). This range promotes vigorous LAB activity and rapid acidification.
- Avoid Extremes: Do not ferment in excessively hot environments (above 80°F/27°C) or too cold (below 60°F/15°C). Consistent temperature is key.
- Use a Thermometer: If your kitchen temperature fluctuates, consider a fermentation thermometer strip on your jar or find a stable spot in your home.
5. Patience and Observation: Knowing When It's Ready
Fermentation is a living process. While the pH meter provides objective data, your senses are also valuable tools for monitoring progress and identifying potential issues.
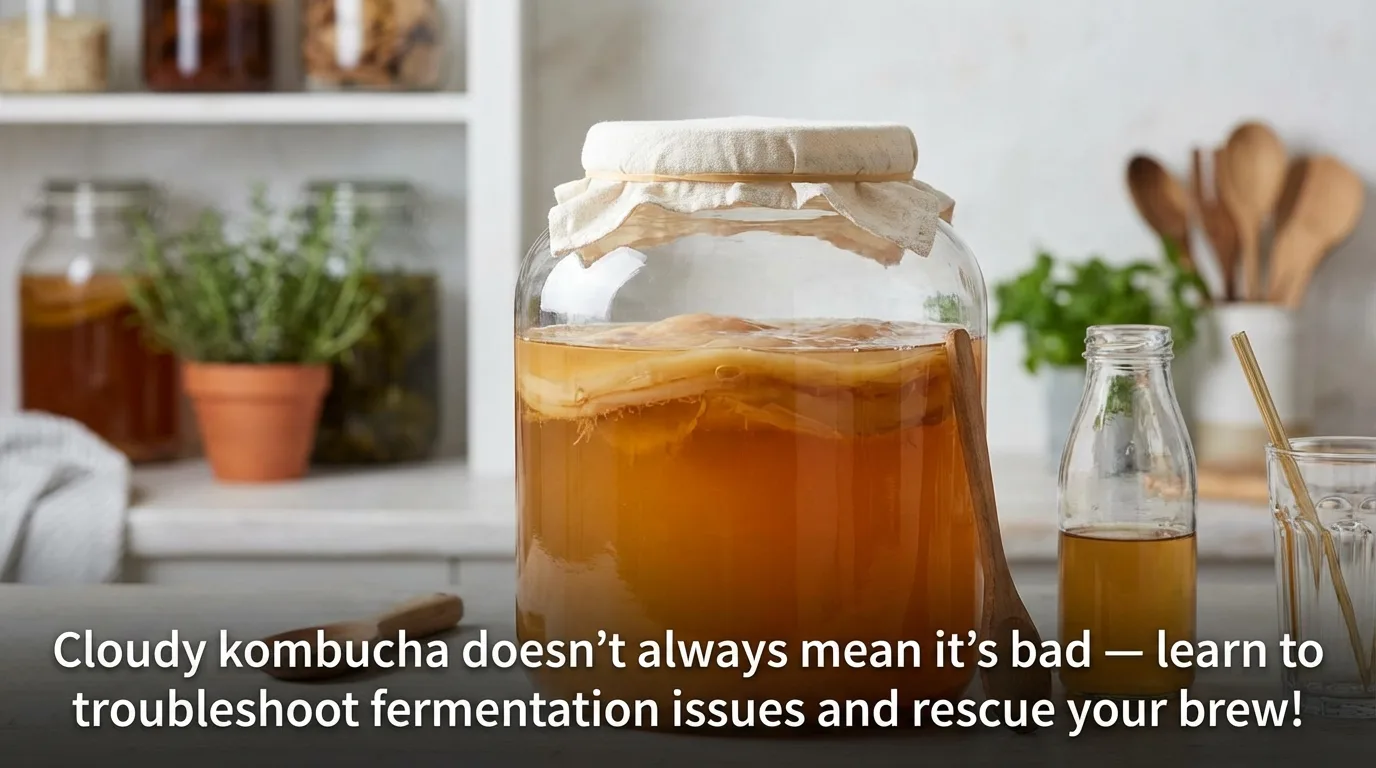
- Visual Cues: Look for consistent bubbling, which indicates active fermentation. The brine may become cloudy, which is normal.
- Smell: A healthy ferment should smell pleasantly sour, tangy, or slightly yeasty. Any foul, putrid, rotten, or overly sulfurous smells are red flags.
- Taste: Once the ferment has been bubbling for a few days and you've confirmed a safe pH, you can taste a small amount. It should be pleasantly tart and tangy, not slimy, mushy, or off-flavored.
- Discard If Suspect: If you see mold (any fuzzy, colored growth), experience off-smells, or if the pH doesn't drop sufficiently, it's always safer to discard the batch. When in doubt, throw it out.
6. Post-Fermentation Storage: Maintaining Safety
Once your low-acid ferment has reached its desired flavor and a safe pH (below 4.6), refrigeration is essential to slow down further fermentation and maintain its quality and safety.
- Refrigerate Promptly: Transfer your fermented vegetables to the refrigerator (below 40°F/4°C) as soon as they are ready. The cold temperature drastically slows down microbial activity, including potential spoilage.
- Shelf Life: Properly refrigerated ferments can last for several months, often even longer. Always rely on your senses before consuming.
Advanced Strategies for Enhanced Safety
While the foundational steps are crucial, there are additional techniques that can further enhance the safety and consistency of your low-acid vegetable ferments.
Starter Cultures: A Boost for Safety and Consistency
While many vegetables have sufficient native LAB on their surfaces, adding a specific starter culture can provide a head start, especially for low-acid vegetables or in environments where native LAB might be less robust.
- Benefits: Starter cultures ensure a rapid inoculation of beneficial bacteria, leading to quicker acidification and a more predictable outcome. This can be particularly reassuring for beginners or when fermenting challenging ingredients.
- Types: Look for cultures specifically designed for vegetable fermentation, often containing strains of Lactobacillus plantarum, Pediococcus pentosaceus, or Leuconostoc mesenteroides.
- How to Use: Follow the manufacturer's instructions, typically dissolving the culture in a small amount of water or brine before adding it to your ferment.
Brine Management: Keeping an Eye on the Liquid
The brine is the lifeblood of your ferment. Proper brine management ensures the safety and quality of your preserved vegetables.
- Maintain Brine Level: Always ensure vegetables are fully submerged. Exposure to air is an open invitation for mold and other undesirable microbes.
- Adding Brine: If you need to add more brine, prepare a fresh 2-3% salt solution using non-chlorinated water. Never add plain water, as it will dilute your salt concentration and potentially compromise safety.
Case Study: The Kimchi Crisis Averted
Let me share a quick, realistic scenario. Sarah, an enthusiastic fermenter, decided to make a batch of green bean kimchi, a notoriously low-acid vegetable. She followed a recipe that called for a 1.5% salt concentration, which she measured by volume, not weight. After a week, her kimchi smelled a little 'off' – not quite rotten, but not the clean, sour smell she expected. She also noticed minimal bubbling. Concerned, she remembered my advice about pH testing.
Upon testing, the pH was still at 5.2 – far above the safe threshold of 4.6. Realizing her error in salt measurement and the low initial concentration, she immediately discarded the batch. For her next attempt, she increased the salt to 2.5% by weight, added a commercial starter culture, and meticulously monitored the pH. Within 3 days, the pH had dropped to 4.3, and by day 7, it was a robust 3.9. The ferment smelled wonderfully tangy, and she had peace of mind. Sarah learned that while intuition is valuable, scientific rigor is irreplaceable for safety, especially with low-acid ingredients.
| Parameter | Sarah's First Attempt | Safe Practice |
|---|---|---|
| Salt Concentration | ~1.5% (by volume) | 2.5-3.0% (by weight) |
| Initial pH of Vegetables | 6.0-6.5 (Green Beans) | Same, but requires rapid acidification |
| pH After 7 Days | 5.2 | <4.6 (ideally <4.2) |
| Use of Starter Culture | No | Optional, but recommended for low-acid |
| Outcome | Discarded (unsafe) | Safe, delicious ferment |
This case highlights the importance of precise methods. For more in-depth scientific perspectives on fermentation safety, resources like the National Center for Home Food Preservation (NCHFP) are invaluable. Additionally, academic research, such as studies on the efficacy of various lactic acid bacteria in food preservation, often found on platforms like PubMed, can offer deeper insights into the microbial science.
Common Misconceptions and Troubleshooting
Even with the best intentions, misinformation can creep into home fermentation practices. Let's address some common pitfalls.
"A Little Mold is Okay" - Why it's NOT.
This is one of the most dangerous myths. While some surface yeasts (kahm yeast) can appear as a thin, white film and are generally harmless (though they can sometimes impart off-flavors), any fuzzy, colored growth (green, black, pink, blue) is mold. Mold indicates that your anaerobic environment was compromised, or that spoilage organisms are active. Mold spores can have roots that penetrate deep into the ferment, and some molds produce mycotoxins. Unlike jams where you might skim mold, with ferments, if you see mold, the entire batch should be discarded. Do not try to salvage it.
"It Smells Fine" - The Limitations of Sensory Checks Alone.
While a healthy, tangy smell is a good indicator, it's not foolproof, especially for botulism. Clostridium botulinum toxin is odorless and tasteless. A ferment could appear, smell, and even taste normal, yet still harbor the deadly toxin if the pH conditions were not met. This is precisely why a pH meter is indispensable for low-acid ferments. Relying solely on your nose and eyes for safety is a gamble you should never take.
What to Do If You Suspect Contamination.
If you have any doubt about the safety of your ferment – perhaps the pH didn't drop, you saw mold, or it has an unequivocally foul smell – err on the side of extreme caution. Discard the entire batch immediately. Do not taste it. Do not try to cook it to 'kill' anything, as botulinum toxin is heat-stable enough that it would require boiling for 10 minutes to neutralize, and even then, the risk is not worth it. Your health and safety are paramount. Always follow official food safety guidelines, such as those provided by your local health authority or the FDA's home food safety resources.
Frequently Asked Questions (FAQ)
Question? Can I use less salt to reduce sodium in my low-acid vegetable ferments?
Answer: While reducing sodium is a common goal, it's risky for low-acid ferments. Salt plays a crucial role in inhibiting undesirable bacteria and creating the right environment for lactic acid bacteria to thrive and quickly lower the pH. Going below the recommended 2-3% by weight, especially for low-acid vegetables, significantly increases the risk of spoilage and potential pathogen growth. If you're concerned about sodium, consider fermenting naturally higher-acid vegetables or using a strong starter culture to ensure rapid acidification, but do not compromise on the minimum salt percentage for safety.
Question? What if my pH doesn't drop below 4.6 after the recommended fermentation time?
Answer: If your pH remains above 4.6 after what should be sufficient fermentation time (typically 7-14 days for most vegetables), you should unfortunately discard the batch. This indicates that the lactic acid bacteria did not acidify the ferment adequately, leaving it in the danger zone for C. botulinum. Review your process: ensure proper salt concentration, correct temperature, good sanitation, and consider using a starter culture next time to boost acidification. Never consume a low-acid ferment that has not reached a safe pH.
Question? How long does fermentation typically take for low-acid vegetables to be safe?
Answer: The time can vary based on temperature, vegetable type, and salt concentration, but generally, most low-acid vegetable ferments will reach a safe pH (below 4.6) within 7 to 14 days when kept at an ideal temperature of 65-75°F (18-24°C). However, the only way to confirm safety is to test the pH with a reliable meter. Once the desired pH is reached, you can transfer it to refrigeration to slow down further fermentation and preserve quality.
Question? Is it safe to ferment in plastic containers?
Answer: While glass is generally preferred for its non-reactive nature and ease of cleaning, food-grade plastic containers (marked with HDPE or PP symbols) are technically safe for fermentation. Ensure they are specifically designed for food storage and are free from BPA or other harmful chemicals. However, plastic can sometimes absorb odors and colors from ferments, and can be more prone to scratching, which can harbor bacteria. Always choose containers that are easy to clean and sanitize thoroughly.
Question? Can I reuse brine from a previous ferment to start a new batch?
Answer: While some experienced fermenters do this, I generally advise against it for beginners or when fermenting low-acid vegetables, due to the increased risk. Reusing brine means you're introducing an unknown microbial load, and the salt concentration might be diluted or imbalanced. If you choose to reuse brine, ensure it comes from a ferment that was undeniably successful and safe (pH confirmed), and always refresh it with new salt and water to achieve the proper concentration for the new batch. For maximum safety and consistency, especially with low-acid produce, starting with fresh brine is always the best practice.
Key Takeaways and Final Thoughts
Mastering the art of fermenting low-acid vegetables safely requires diligence, scientific understanding, and a healthy respect for the microbial world. It's a rewarding journey that connects us to ancient traditions while providing incredible flavors and health benefits. However, this journey must always be guided by a commitment to safety, especially when the risk of botulism is a factor.
- Acidity is King: Always aim for and confirm a pH below 4.6, ideally lower, using a reliable pH meter.
- Precision with Salt: Measure salt by weight (2-3% of total ingredients) using non-iodized salt.
- Cleanliness Matters: Sanitize equipment and maintain a hygienic environment.
- Submerge & Seal: Keep vegetables fully submerged in brine in an anaerobic environment.
- Control Temperature: Ferment within the optimal range of 65-75°F (18-24°C).
- Observe & Discard: Trust your senses, but if in doubt, always discard the batch.
By integrating these expert-level practices into your fermentation routine, you transform from a casual experimenter into a confident, knowledgeable preserver. Embrace the science, enjoy the process, and savor the incredible, safely fermented foods you create. Happy fermenting!
Recommended Reading
- Stop Oxidation: 7 Pro Steps for Pressurized Home Brew Transfers
- Unlock Baking Secrets: Your Ultimate Guide to Sugar Substitutions
- Unlock Culinary Freedom: 7 Steps to a Minimalist Pantry for Max Flexibility
- Gummy No More: 7 Pro Fixes for Large-Batch Vegan GF Cakes
- 5 Pro Fixes: Why Your Slow Cooker Stew Meat Stays Tough
0 Comentários: