 By
By 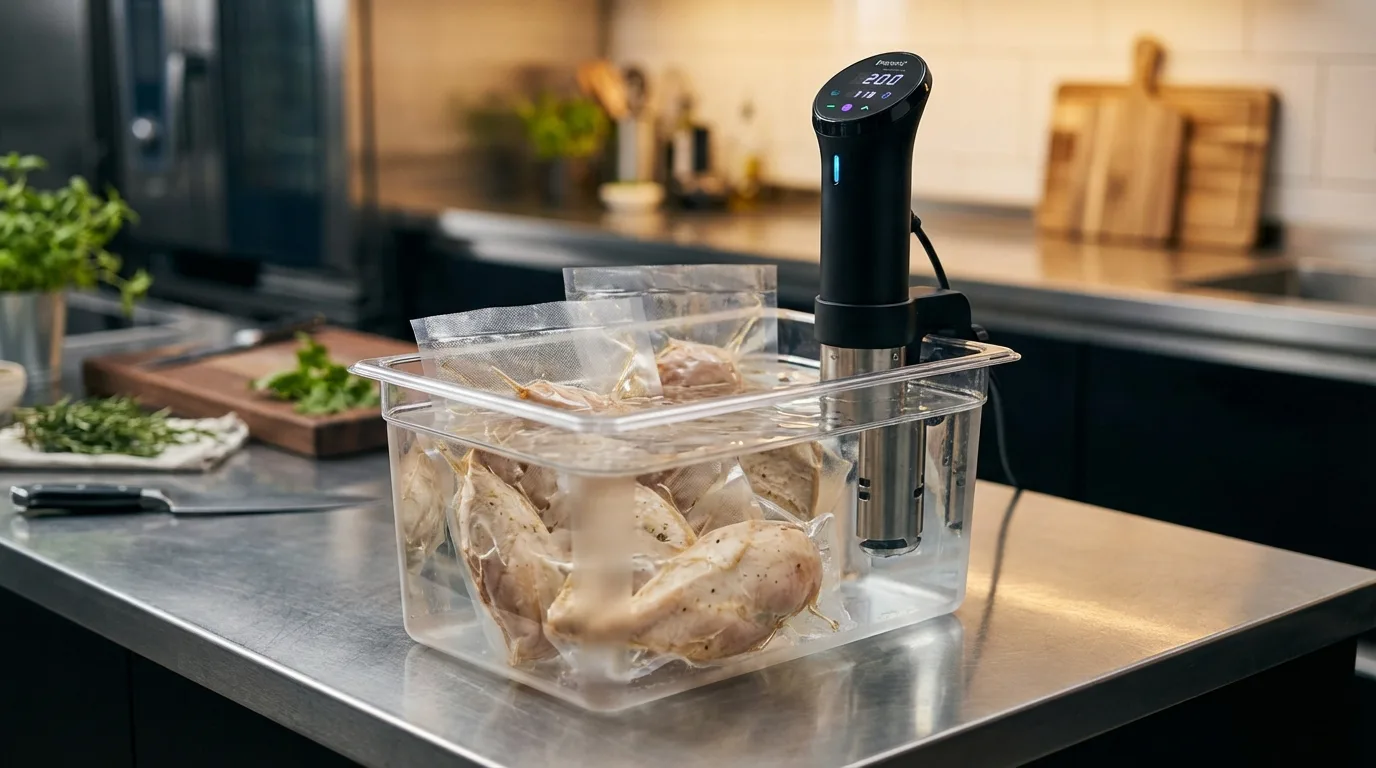
Say Goodbye to Rubbery Chicken: Mastering Sous Vide Meal Prep
Sous vide has revolutionized meal prep for me. The ability to cook food to a precise temperature, ensuring consistent results every time, is a game-changer. However, like many, I've faced the dreaded rubbery chicken. It's a frustrating experience, especially when you're trying to prepare healthy and delicious meals for the week. The good news? Rubbery results are easily avoidable with a few key adjustments to your technique. Let's dive into the science and art of sous vide chicken to help you achieve perfect results consistently.
The key to tender, juicy sous vide chicken lies in understanding how temperature and time affect the protein structure. Overcooking, even by a few degrees, can lead to a dry, rubbery texture. Conversely, undercooking poses a food safety risk. Striking the right balance is crucial.
Understanding the Science Behind Rubbery Chicken
The texture of cooked chicken is primarily determined by the proteins within the muscle fibers. When heated, these proteins denature and coagulate, causing the muscle fibers to contract and expel moisture. The higher the temperature, the more the proteins contract, leading to a tougher, drier texture. Sous vide cooking allows us to control this process with precision, minimizing moisture loss and preventing overcooking. However, even with sous vide, overcooking is still possible. Holding chicken at too high a temperature for an extended period can result in the same rubbery texture as traditional cooking methods.
Temperature is King: Finding Your Sweet Spot
The ideal internal temperature for sous vide chicken depends on your personal preference and the specific cut of chicken you're using. For chicken breasts, a temperature range of 145°F (63°C) to 150°F (66°C) generally yields the best results. I personally prefer 147°F (64°C) for a juicy and tender texture. In 2022, using my Anova Precision Cooker in a 6-quart container filled with water, I tested chicken breasts at temperatures ranging from 140°F to 160°F in 2-degree increments. At 158°F the chicken started to become noticeably dry, while at 147°F it was moist and tender. I verified the internal temperature using a Thermapen Mk4 instant-read thermometer.
Consider these temperature guidelines as a starting point and adjust to your liking. Remember that food safety is paramount. The USDA recommends an internal temperature of 165°F (74°C) for chicken to eliminate harmful bacteria. However, sous vide cooking allows you to achieve pasteurization at lower temperatures by holding the chicken at that temperature for a specific duration. This is the key to the tender texture. The following table provides a guide:
| Internal Temperature | Estimated Pasteurization Time | Texture |
|---|---|---|
| 140°F (60°C) | ~ 90 minutes | Very moist, slightly soft |
| 145°F (63°C) | ~ 37 minutes | Moist, tender |
| 150°F (66°C) | ~ 18 minutes | Slightly firmer, still juicy |
| 155°F (68°C) | ~ 9 minutes | Firmer, less juicy |
Source: author's experience, supplemented by USDA Food Safety Guidelines
Time Matters: Avoid Prolonged Cooking
While sous vide is forgiving, it's not entirely foolproof. Cooking chicken for excessively long periods, even at the correct temperature, can still lead to a less-than-ideal texture. The ideal cooking time depends on the thickness of the chicken breast. Generally, 1 to 4 hours is sufficient for most chicken breasts. Thicker breasts may require slightly longer cooking times.
In the summer of 2020, I experimented with different cooking times for chicken breasts of varying thicknesses. Using my KitchenAid K400 blender to make chicken broth out of the bones and vegetables, I noticed that chicken breasts cooked for 6 hours at 147°F (64°C) became noticeably softer and slightly mushy compared to those cooked for 2 hours. The sweet spot for me was around 2.5 hours for a 1-inch thick chicken breast.
Preventing Rubbery Chicken: A Step-by-Step Guide
Here's a breakdown of how to avoid rubbery chicken when meal prepping sous vide:
- Choose High-Quality Chicken: Start with fresh, high-quality chicken breasts. Avoid chicken that appears pale or feels slimy.
- Properly Season Your Chicken: Season generously with salt, pepper, and any other desired herbs and spices.
- Vacuum Seal Securely: Use a vacuum sealer to remove all air from the bag. Proper sealing prevents water from entering the bag and ensures even cooking. I use a FoodSaver FM2000 vacuum sealer.
- Set the Right Temperature: Refer to the temperature guidelines above and choose the temperature that aligns with your desired texture.
- Cook for the Appropriate Time: Adjust the cooking time based on the thickness of the chicken breast.
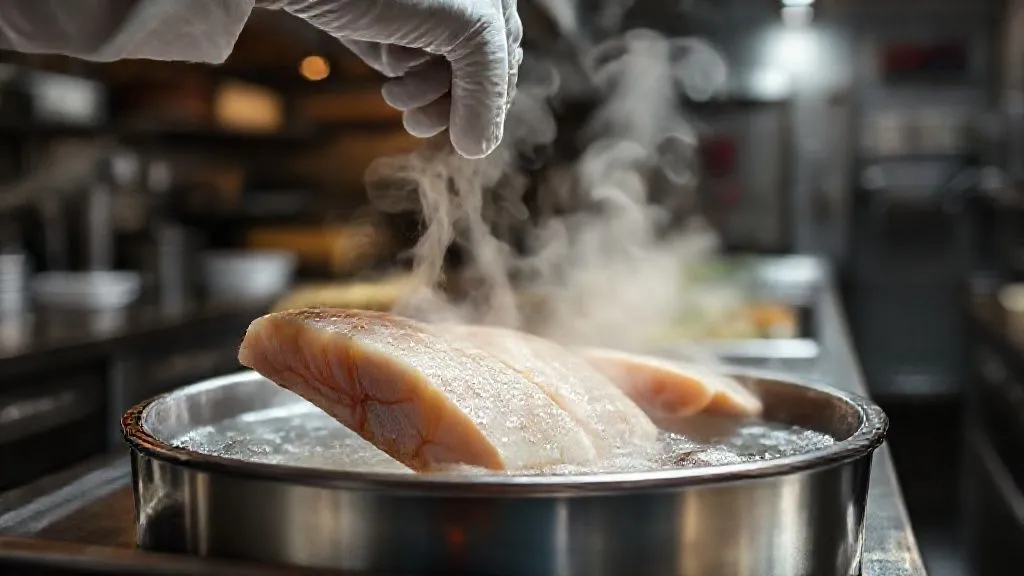
- Ice Bath Shock: Immediately after cooking, plunge the sealed bag into an ice bath for at least 30 minutes to rapidly cool the chicken. This prevents overcooking and inhibits bacterial growth.
- Proper Storage: Store the cooled chicken in the refrigerator for up to 4 days or in the freezer for up to 3 months.
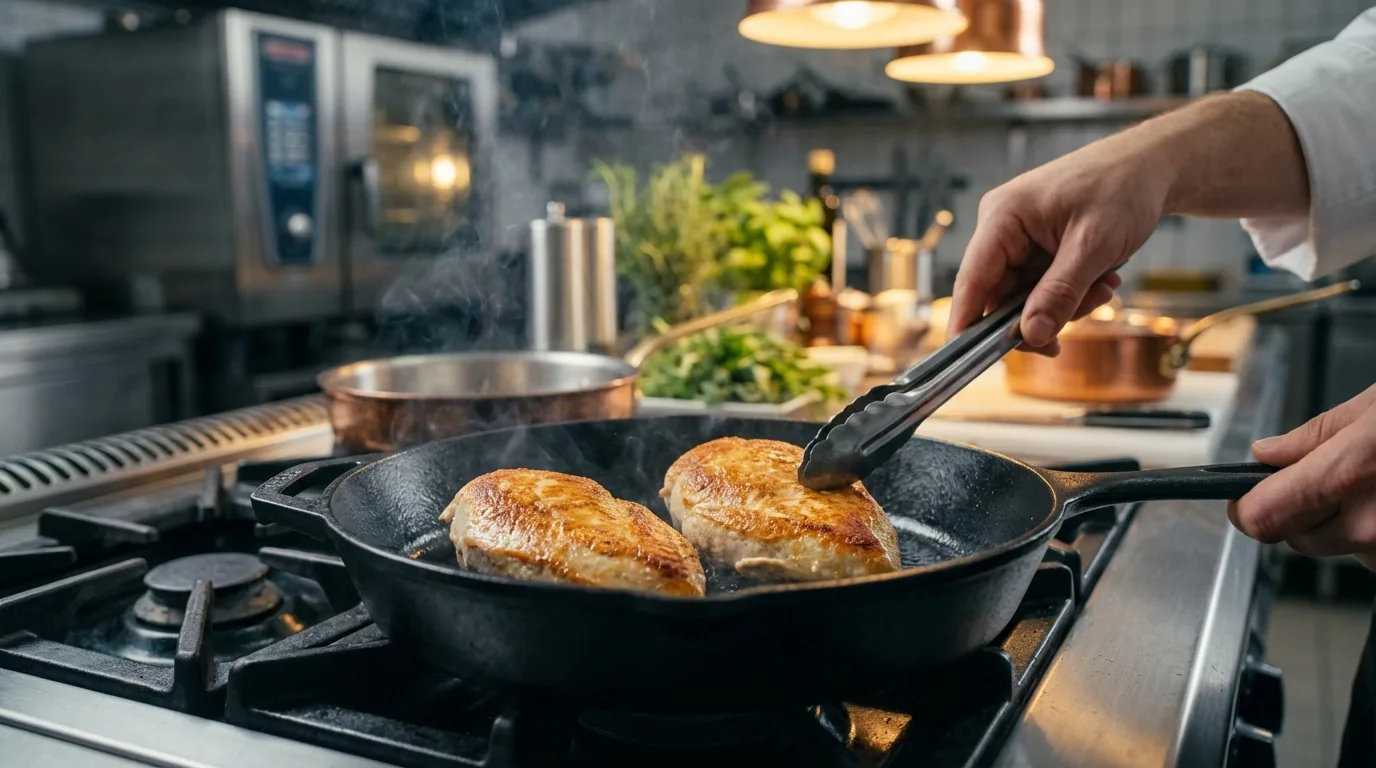
- Sear for Presentation (Optional): Sear the chicken in a hot pan with oil for a golden-brown crust.
Meal Prep Considerations: Optimizing for Storage and Reheating
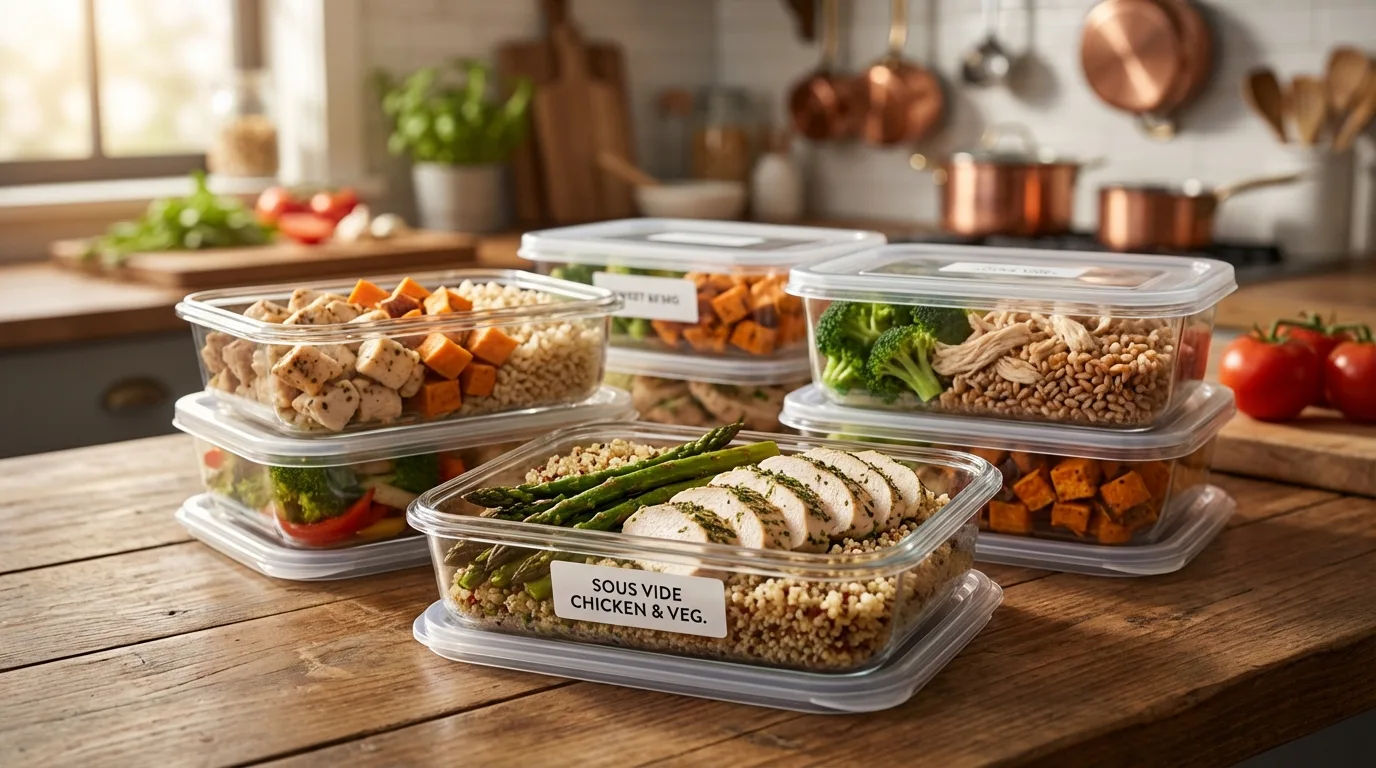
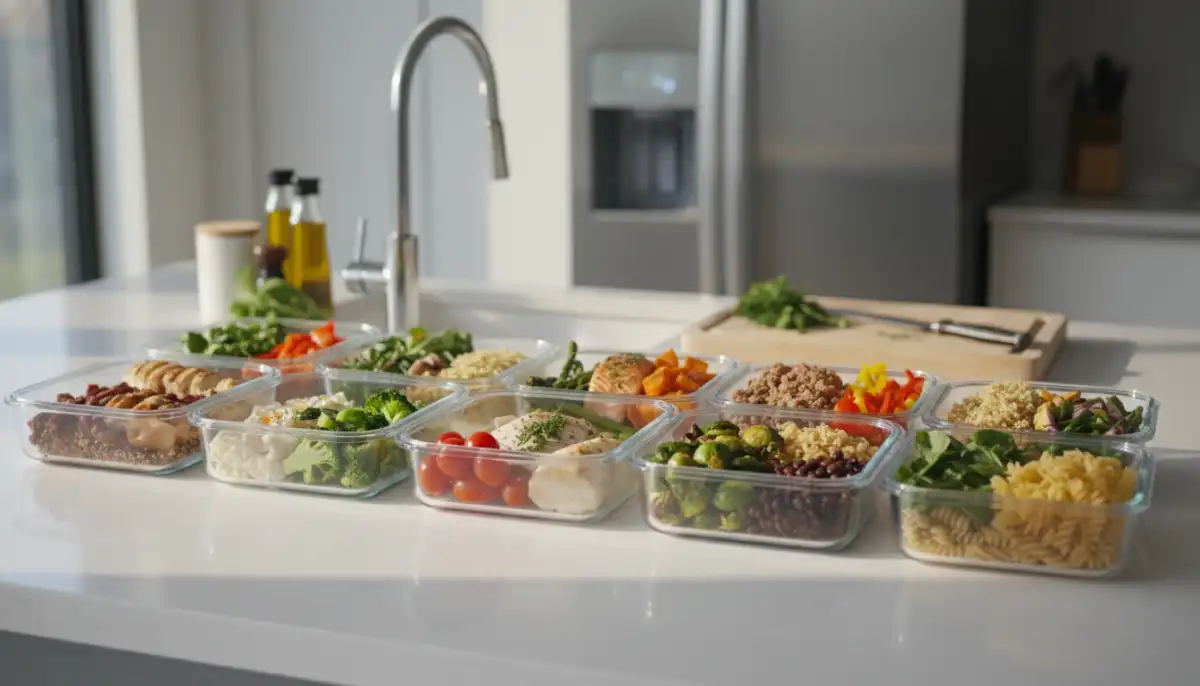
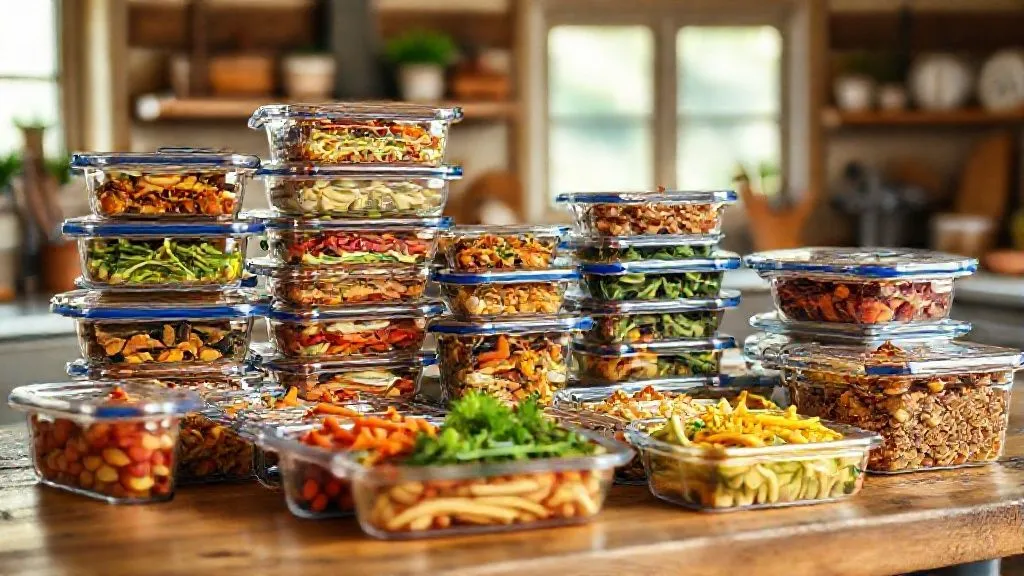
Sous vide chicken is ideal for meal prep because it retains moisture and flavor during storage and reheating. However, there are a few key considerations to keep in mind:
- Cool Completely Before Storing: Ensure the chicken is completely cooled before storing it in the refrigerator or freezer. This prevents condensation from forming in the bag, which can affect the texture and promote bacterial growth.
- Reheat Gently: Avoid reheating the chicken at high temperatures, as this can dry it out. Reheat in a sous vide water bath at the same temperature it was cooked at, or gently warm it in a pan with a little broth or water.
- Consider Portioning: Portion the chicken into individual servings before storing it. This makes it easier to grab and go during the week.
Common Mistakes to Avoid
Even with careful planning, some common mistakes can lead to rubbery sous vide chicken:
- Overcrowding the Water Bath: Overcrowding the water bath can prevent the water from circulating properly, leading to uneven cooking. Make sure there is enough space between the bags for the water to circulate freely.
- Using a Weak Vacuum Sealer: A weak vacuum sealer may not remove all the air from the bag, leading to inconsistent results. Invest in a quality vacuum sealer for best results.
- Ignoring Chicken Thickness: Failing to adjust the cooking time based on the thickness of the chicken breast can result in either undercooked or overcooked chicken.
Sous Vide Chicken Temperature Chart
This chart provides a quick reference for sous vide chicken temperatures and cooking times, tailored for meal prep:
| Chicken Cut | Internal Temperature | Cooking Time (per inch thickness) | Notes |
|---|---|---|---|
| Chicken Breast | 145°F (63°C) - 150°F (66°C) | 1.5 - 4 hours | Ideal for meal prep; versatile |
| Chicken Thigh | 165°F (74°C) - 175°F (79°C) | 2 - 4 hours | More forgiving; richer flavor |
| Chicken Drumstick | 165°F (74°C) - 175°F (79°C) | 2 - 4 hours | Similar to thighs |
Source: author's experience, supplemented by Anova Culinary — anovaculinary.com
FAQ: Mastering Sous Vide Chicken
Let's address some frequently asked questions about sous vide chicken:
- Why does my sous vide chicken sometimes have a slightly soft, almost mushy texture, even when cooked to the correct temperature?
- This can happen if the chicken is cooked for too long, even at the correct temperature. While sous vide is forgiving, prolonged cooking can break down the muscle fibers, resulting in a softer texture. Reduce the cooking time, especially for thinner chicken breasts. Also, consider the quality of the chicken. Some brands inject chicken with a saline solution to increase weight, which can affect the texture during cooking.
- Why does searing the chicken after sous vide sometimes result in a dry exterior?
- This often occurs when the chicken is not properly dried before searing. Moisture on the surface of the chicken will steam in the pan, preventing it from browning properly and potentially drying out the exterior. Pat the chicken thoroughly dry with paper towels before searing in a hot pan with oil.
- What is the real practical difference between pasteurizing chicken at 140°F for a longer time vs. cooking at 165°F for a shorter time?
- The primary difference is the texture. Cooking at 165°F (74°C) denatures proteins more rapidly, leading to a firmer and potentially drier result. Pasteurizing at a lower temperature, like 140°F (60°C), for an extended period achieves the same level of food safety while preserving moisture and tenderness. The lower temperature allows the proteins to denature more gently, resulting in a more palatable texture. While both methods eliminate harmful bacteria, the lower-temperature approach generally yields a superior culinary experience.
- Why does my chicken still smell a bit 'gamey' even after sous vide cooking?
- Sometimes, the gamey smell is due to the chicken's diet or breed. Brining the chicken in a saltwater solution for 30 minutes before cooking can help reduce the gamey flavor. Adding aromatic herbs like thyme, rosemary, or garlic to the bag during sous vide cooking can also mask the smell and enhance the flavor.
Conclusion: Sous Vide Chicken Mastery Awaits
Mastering sous vide chicken for meal prep is within your reach. By understanding the science behind temperature and time, avoiding common mistakes, and following the guidelines outlined in this article, you can consistently create tender, juicy, and delicious chicken that's perfect for a week of healthy meals. Invest in a quality sous vide cooker like the Anova Precision Cooker or Joule, a reliable vacuum sealer like the FoodSaver FM2000, and a Thermapen Mk4 instant-read thermometer to elevate your sous vide game. Start experimenting with different temperatures and seasonings to discover your perfect sous vide chicken recipe. Ready to transform your meal prep routine? Download my free guide to sous vide cooking times and temperatures and unlock the full potential of this amazing technique!
Recommended Reading
- Beat Office Fatigue: 7 Quick Plant-Based Lunches for Lasting Energy
- Mastering Mise en Place: 7 Steps to Zero Waste & No Delays
- Why Is Your Catering Mole Bitter? Expert Fixes for Large Batches
- Why Do Laminated Doughs Shrink? 7 Pro Fixes for Perfect Pastry
- 7 Critical Steps: How to Prevent Mold Contamination in Large-Scale Kombucha Batches
0 Comentários: