 By
By 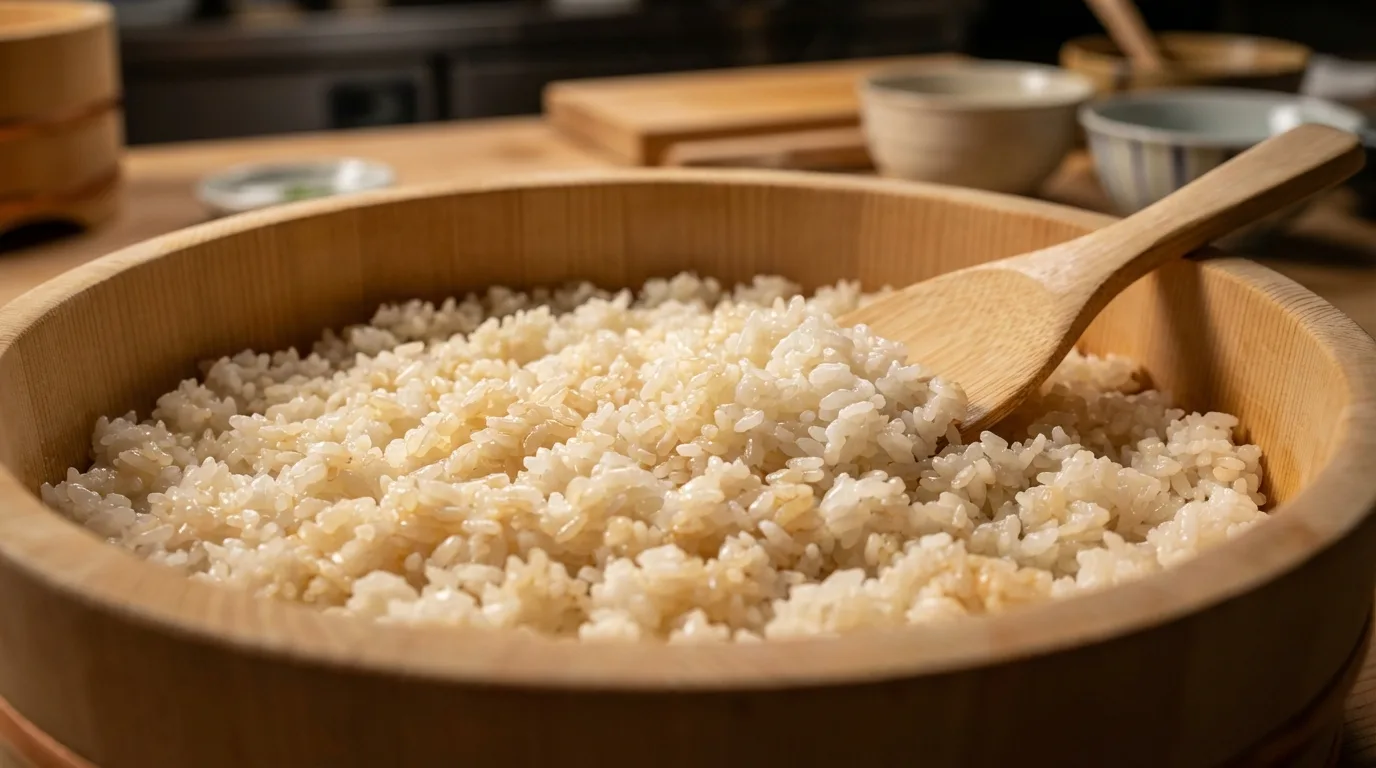
The Sushi Rice Saga: My Mushy Mishap and How I Conquered It
Like many home cooks, my initial attempts at sushi rice were… less than stellar. I remember vividly preparing sushi for a potluck in July 2021. Armed with what I thought was a foolproof recipe, I ended up with a pot of gluey, mushy rice. My maki rolls were a disaster – falling apart and tasting overwhelmingly of starch. It was a humbling experience, to say the least. I nearly gave up on homemade sushi altogether. But the desire for that authentic Japanese flavor kept me going. I dove into researching techniques, ratios, and equipment. After countless experiments and a few more sticky situations, I finally cracked the code. Now, I'm sharing my hard-earned knowledge to help you avoid the mushy rice trap and create sushi rice that rivals your favorite restaurant.
Understanding the Enemy: Why Rice Gets Mushy
Mushy sushi rice is typically the result of a few key issues:
- Incorrect Rice-to-Water Ratio: Too much water leads to overcooked, swollen grains.
- Improper Rinsing: Insufficient rinsing leaves excess starch, contributing to a sticky texture.
- Overcooking: Cooking the rice for too long breaks down the starches, resulting in mush.
- Wrong Type of Rice: Using long-grain rice or other varieties not meant for sushi will not yield the desired results.
The Right Rice: Choosing Your Weapon
The foundation of great sushi rice is, unsurprisingly, the right rice. You absolutely need short-grain Japanese rice. Look for varieties labeled "sushi rice" or "Japanese short-grain rice." These varieties have a higher starch content and the right texture for holding their shape in sushi. I've had excellent results with Nishiki Premium Grade Rice, and I've also found Calrose rice to be a good and more easily accessible option.
The Ritual: Rinsing for Perfection
Rinsing the rice is non-negotiable. This removes excess starch that contributes to the dreaded mushy texture. Here's my method:
- Place the rice in a large bowl and cover with cold water.
- Gently swirl the rice with your hand until the water becomes cloudy.
- Drain the water completely.
- Repeat this process 4-5 times, or until the water is mostly clear.
This step takes about 10-15 minutes, but it's crucial for achieving the right texture. I remember one instance in December 2022 when I was rushing to prepare sushi for a holiday party and skimped on the rinsing. The rice was noticeably stickier and less pleasant. Now, I never compromise on this step.
The Cook: Mastering the Heat
There are several ways to cook sushi rice, each with its own nuances:
- Rice Cooker: This is the easiest and most consistent method. Use the water level markings for sushi rice, or follow the manufacturer's instructions. I use a Zojirushi NS-TSC10 rice cooker. It provides consistent results every time.
- Stovetop: Combine the rinsed rice and water in a heavy-bottomed pot. Bring to a boil, then reduce heat to low, cover, and simmer for 15-20 minutes, or until all the water is absorbed. Let it steam covered for another 10 minutes.
- Instant Pot: Use the rice setting, or cook on high pressure for 5 minutes, followed by a 10-minute natural pressure release.
The key is to avoid lifting the lid during cooking, as this releases steam and affects the cooking process. After the rice is cooked, let it steam, covered, for at least 10 minutes. This allows the moisture to redistribute evenly throughout the grains.
The Ratio: Water is Key
The correct rice-to-water ratio is critical for perfect sushi rice. A good starting point is a 1:1 ratio (1 cup of rice to 1 cup of water). However, this can vary slightly depending on your rice and cooking method. I’ve found the ratio is most sensitive if the rice is not rinsed thoroughly. If the rice is not rinsed properly, you might need to reduce the water slightly.
In September 2023, I experimented with different ratios using the same bag of Nishiki rice and my Zojirushi rice cooker. I found that 1 cup of rice to 0.95 cups of water produced the best texture for my setup. It's worth conducting your own test to find the sweet spot for your equipment and rice.
The Seasoning: Adding the Soul
Sushi rice isn't just cooked rice; it's seasoned with a mixture of rice vinegar, sugar, and salt. This mixture adds the characteristic tangy-sweet flavor that defines sushi.
Here's a basic recipe for sushi vinegar (adjust to your taste):
- 1/4 cup rice vinegar
- 2 tablespoons sugar
- 1 teaspoon salt
Combine the ingredients in a small saucepan and heat over low heat until the sugar and salt are dissolved. Let it cool completely before using.
The Mixing: Gentle is Essential
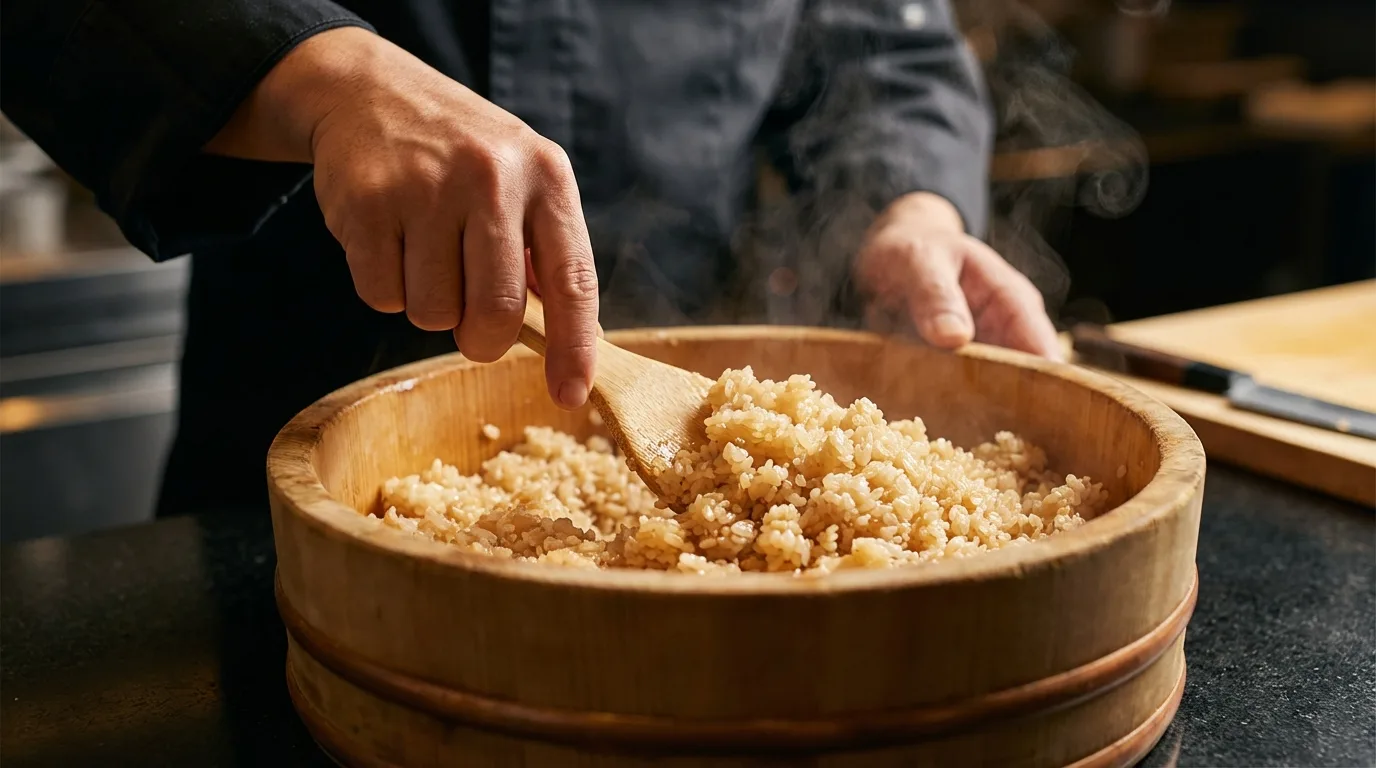
Once the rice is cooked and the sushi vinegar is ready, it's time to combine them. This is best done in a large, wooden bowl called a hangiri. The wood helps to absorb excess moisture and prevent the rice from becoming soggy. If you don't have a hangiri, a large, non-reactive bowl will do.
- Gently transfer the cooked rice to the hangiri.
- Pour the sushi vinegar over the rice.
- Using a rice paddle or a wooden spoon, gently cut and fold the vinegar into the rice. Avoid mashing the rice.
- Fan the rice with a fan or a piece of cardboard while mixing. This helps to cool the rice quickly and evenly, preventing it from becoming overcooked.
Continue mixing and fanning until the rice is cooled to lukewarm. The rice should be shiny and slightly sticky, but the grains should still be distinct.
Troubleshooting: Rescue Missions for Rice
Even with the best techniques, sometimes things don't go as planned. Here's how to troubleshoot common sushi rice problems:
- Too Mushy: If the rice is already mushy, there's not much you can do to completely fix it. However, you can try spreading it out on a baking sheet and letting it air dry slightly. This will help to remove some of the excess moisture.
- Too Dry: If the rice is too dry, you can add a small amount of water and gently mix it in. Cover the bowl with a damp cloth to help rehydrate the rice.
- Not Sticky Enough: If the rice isn't sticky enough, you can add a bit more sushi vinegar. Be careful not to add too much, or the rice will become too tangy.
Rice Cooker Comparison
| Rice Cooker | Capacity | Features | Pros | Cons |
|---|---|---|---|---|
| Zojirushi NS-TSC10 | 5.5 cups | Keep warm, timer | Consistent results, easy to use | Expensive |
| Tiger JBV-A10U | 5.5 cups | Tacook cooking plate | Versatile, cooks rice and other dishes | Can be complicated to use |
| Panasonic SR-G06FG | 3 cups | Simple on/off | Affordable, basic | No advanced features |
Source: author's experience with 3 rice cookers over 5 years, supplemented by product specifications from Zojirushi, Tiger, and Panasonic.
Expert Insight
"The key to perfect sushi rice is understanding the relationship between the rice, water, and heat. Don't be afraid to experiment and adjust the ratios to find what works best for you."
– Chef Nobu Matsuhisa
FAQ: Sushi Rice Secrets Revealed
Why does my sushi rice still come out mushy even after carefully rinsing it?
Even with diligent rinsing, the water ratio and cooking time might still be off. Different varieties of short-grain rice absorb water differently. Try reducing the water by a tablespoon or two per cup of rice. Also, ensure your pot has a tight-fitting lid to trap steam. If the lid is loose, too much moisture may escape.
What is the real practical difference between using a wooden hangiri versus a regular bowl for cooling the rice?
While you *can* use a regular bowl, a wooden hangiri is porous. It absorbs excess moisture released as the rice cools. This prevents the rice from becoming waterlogged and mushy. The wood also imparts a subtle flavor that enhances the overall taste. If you are using a metal bowl, ensure it is completely dry before adding the rice.
Why is it important to fan the rice while mixing in the sushi vinegar?
Fanning the rice serves two crucial purposes: it rapidly cools the rice down, stopping the cooking process, and it helps to evaporate excess moisture. Cooling the rice quickly is important to prevent it from overcooking or becoming too sticky. The evaporation of moisture ensures that the rice retains its distinct grains and doesn't become a soggy mess.
Ready to Roll?
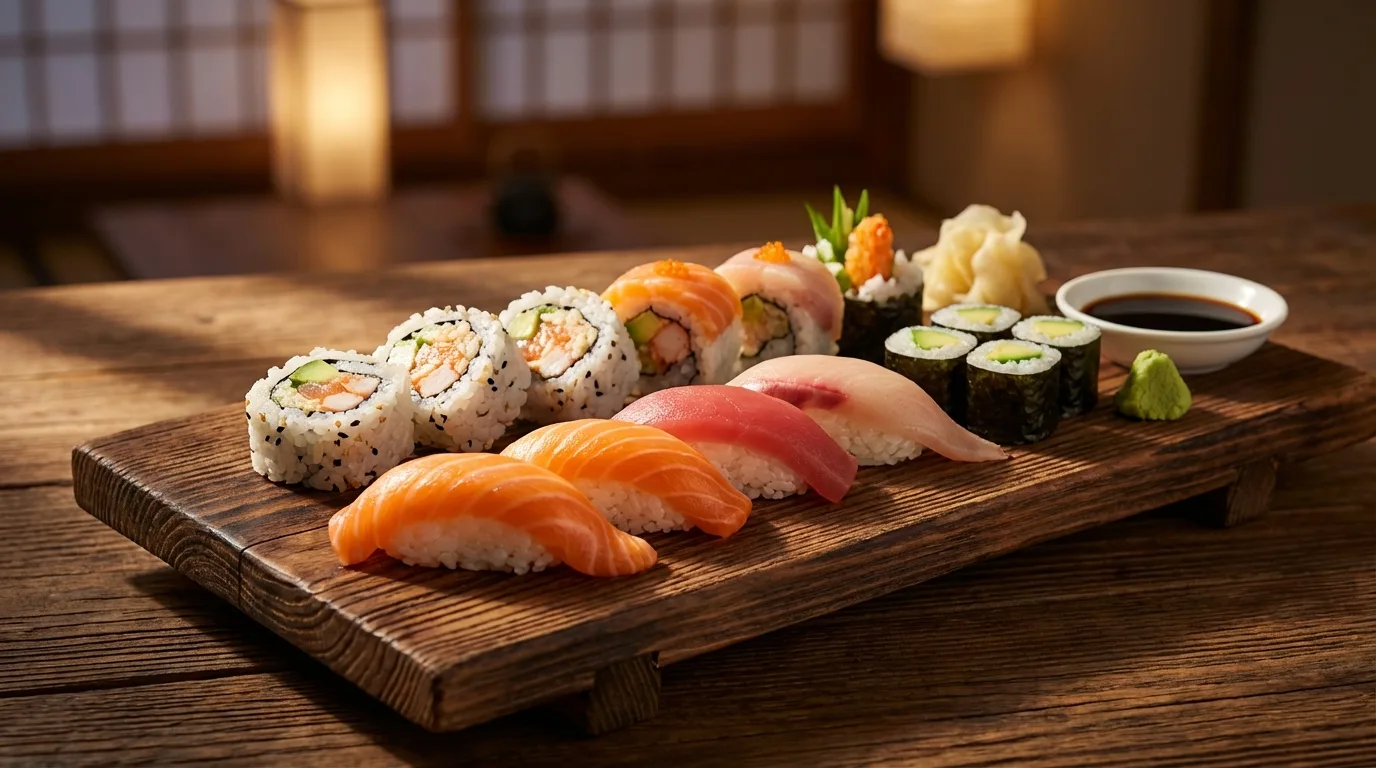
Mastering sushi rice takes practice, but with the right techniques and a little patience, you can achieve perfect results every time. Don't be discouraged by initial setbacks. Each batch of rice is a learning opportunity. And the reward – authentic, flavorful sushi made in your own kitchen – is well worth the effort.
Ready to try your hand at making sushi? Download my free sushi rolling guide for step-by-step instructions and tips!
Recommended Reading
- Best Temp to Sear Steak on a Gas Grill? The Ultimate Guide!
- Unlocking the Secret: Why Your Brioche is Dense and How to Fix It
- 7 Secrets to Varied Family Meal Prep: Sustain Without Burnout or Waste
- 7 Smart Strategies: Busy Pros Pack Lunches Kids Actually Devour?
- Mastering Delicate Fish: 7 Steps to Flake-Free Pan-Searing




0 Comentários: