 By
By 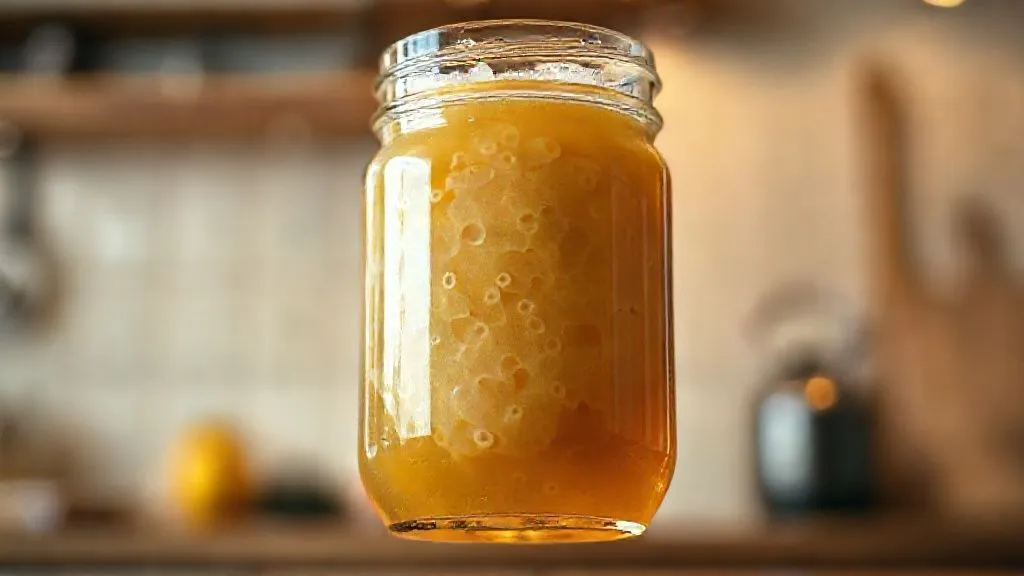
How to Restart a Stuck Kombucha Fermentation Safely and Effectively?
For over 15 years in the home brewing world, I've seen countless brewers, both novice and experienced, face the disheartening sight of a kombucha brew that just... stops. That vibrant bubbling, the tell-tale sign of life, vanishes, leaving a still, often cloudy liquid that simply isn't fermenting. It’s a common scenario, and one that can make even the most dedicated fermenter feel like throwing in the towel.
The frustration is palpable: you’ve nurtured your SCOBY, followed the recipes, and then, silence. Is it dead? Is it ruined? Can it be saved? These are the questions that swirl, and the fear of wasting ingredients or, worse, creating something unsafe, can be overwhelming. A stuck fermentation isn't just an inconvenience; it feels like a personal brewing failure.
But I assure you, a stalled kombucha is rarely a lost cause. In this definitive guide, I’ll share my proven strategies and expert insights on how to restart a stuck kombucha fermentation safely and effectively. We’ll delve into the root causes, walk through actionable troubleshooting steps, and equip you with the knowledge to bring your brew back to life, ensuring a delicious and healthy batch every time. Consider this your roadmap to reviving your brew and brewing with renewed confidence.
Understanding Why Your Kombucha Stalls: Common Culprits
Before we can fix a problem, we must understand its origins. In my experience, most kombucha fermentation stalls can be traced back to a few key environmental or ingredient-related factors. Think of your SCOBY (Symbiotic Culture of Bacteria and Yeast) as a tiny, bustling city; if conditions aren’t right, its citizens – the microbes – go on strike or simply slow down their work.
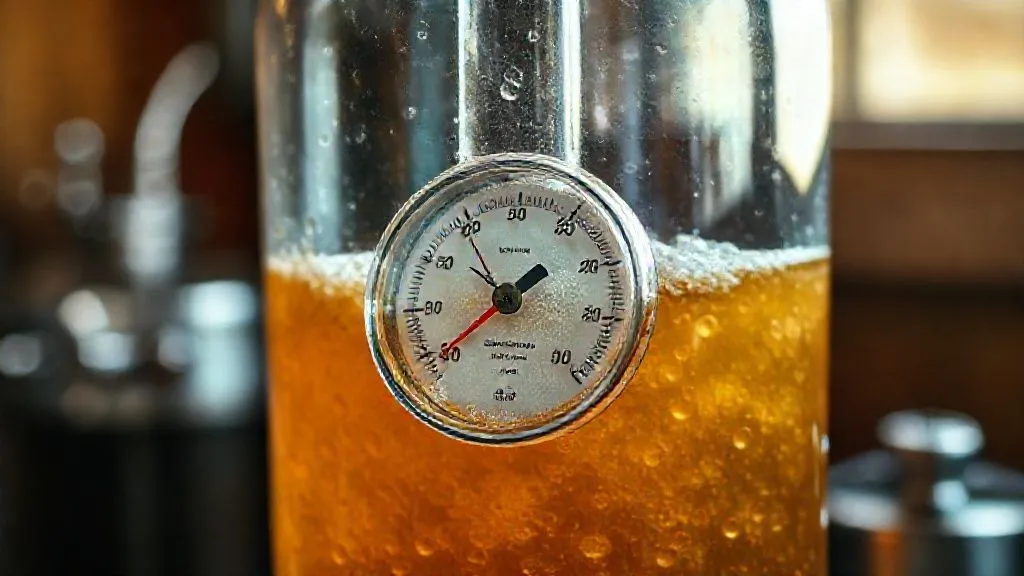
Temperature is perhaps the most frequent culprit. Kombucha thrives in a warm, consistent environment, ideally between 75-85°F (24-29°C). If the temperature drops too low, the yeast and bacteria become sluggish, leading to a painfully slow or completely stalled fermentation. Fluctuations can be just as detrimental. I once had a batch stall completely during an unexpected cold snap in my kitchen – a rookie mistake I learned from quickly!
Another common issue is an imbalanced starter tea or insufficient sugar. The starter tea provides the initial acidic environment and a dose of active microbes. If it's too weak (e.g., not enough of it, or it's not acidic enough), the brew struggles to get going. Similarly, sugar is the fuel for fermentation. If there isn't enough, or if the tea-to-sugar ratio is off, your microbes literally run out of energy to convert. Research published in the National Library of Medicine highlights the critical role of substrate (sugar) concentration in microbial activity and metabolite production in fermented beverages.
SCOBY health also plays a significant role. An old, tired, or improperly stored SCOBY may lack the vitality to kickstart a robust fermentation. Sometimes, even clean ingredients can introduce unwanted contaminants if not handled properly, leading to mold or off-flavors that halt the beneficial fermentation process. Finally, air exposure, particularly too much or too little, can impact yeast activity, and exposure to strong odors or chemicals can also be detrimental.
"A healthy kombucha fermentation is a delicate dance of yeast and bacteria, choreographed by temperature, sugar, and acidity. Any disruption to this trio can bring the performance to a screeching halt." - My personal brewing philosophy.
The Critical First Steps: Assessment and pH Check
When you discover a stalled brew, don't panic. The first step is always a thorough assessment. This isn't just about looking at it; it's about engaging your senses and applying a bit of scientific rigor. I always tell my students: be a detective, not just a brewer.
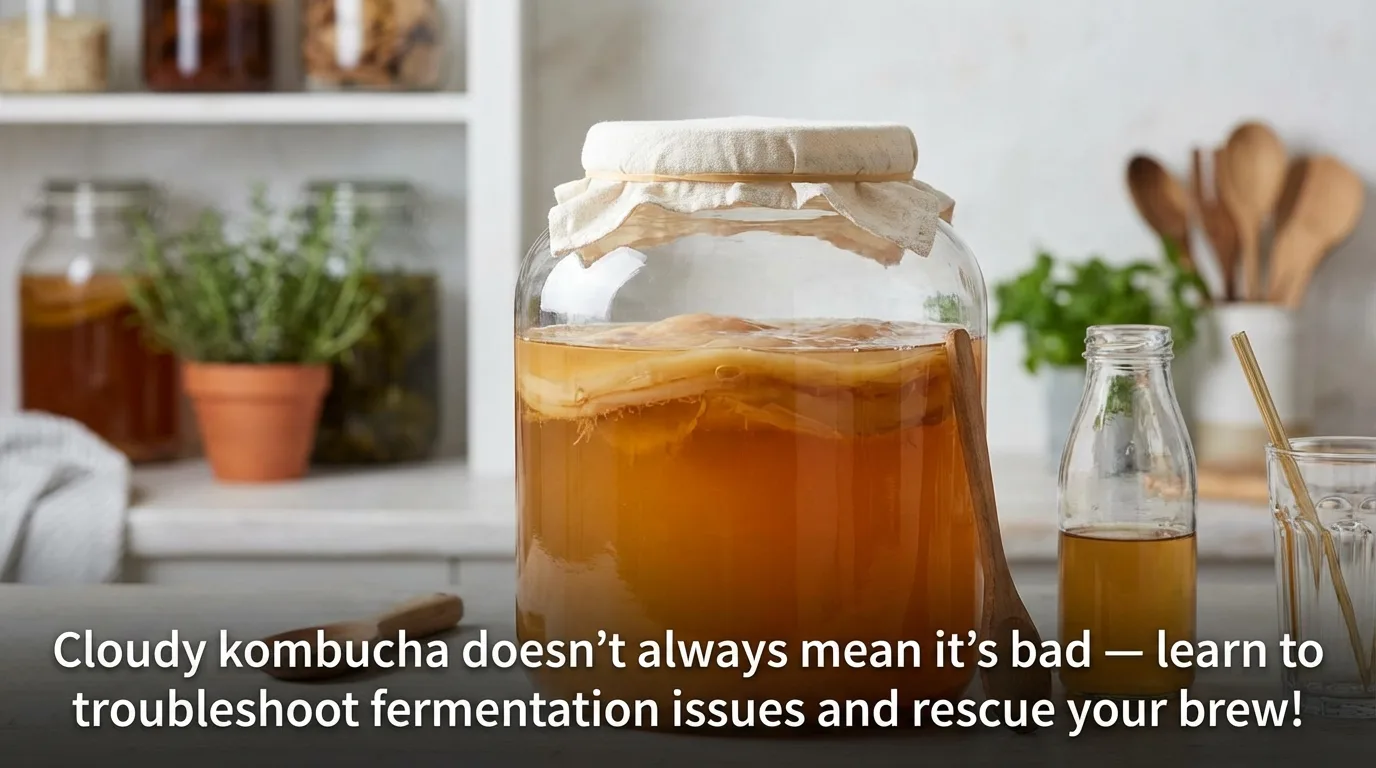
- Visual Inspection: Look closely at your SCOBY and the surface of the liquid. Are there any signs of mold (fuzzy, dry, usually green, black, or white spots)? If you see mold, unfortunately, the batch is likely compromised and should be discarded. A healthy SCOBY might look strange – bumpy, stringy, even a bit slimy – but it shouldn't be fuzzy.
- Smell Test: Gently sniff your brew. It should have a pleasant, slightly tart, vinegary aroma. If it smells like mold, rancid, or unusually foul, it's another sign to discard. A healthy brew might smell yeasty, but never truly offensive.
- Taste Test (Cautious): If it passes the visual and smell tests, dip a clean spoon and taste a tiny amount. It should taste like sweetened tea, possibly with a hint of tartness. If it tastes sweet and nothing else, fermentation hasn't started. If it tastes off, or like cleaning products, it's best to err on the side of caution.
- Temperature Check: Use a reliable thermometer to check the temperature of your brew. Is it within the optimal range of 75-85°F (24-29°C)? This is often the quickest fix.
- pH Measurement: This is perhaps the most crucial diagnostic step. The initial pH of your brew should ideally be between 4.5 and 5.5. As fermentation progresses, it should drop to 2.5-3.5. If your initial pH is too high, it provides a less hospitable environment for the beneficial bacteria and yeast, and an open invitation for undesirable microbes.
To measure pH, you'll need pH strips or a digital pH meter. I personally prefer a digital meter for accuracy, but good quality strips are sufficient for home brewing. 
Case Study: Sarah's Stagnant Sweet Tea
Sarah, an enthusiastic new brewer, contacted me worried about her first batch. After a week, her kombucha was still incredibly sweet, with no visible activity. She’d followed a recipe meticulously, she thought. My first advice was to check the pH. To her surprise, it was 6.2 – far too high! We discovered she had used a very small amount of weak starter tea from a friend's inactive SCOBY hotel. By immediately adding a robust, store-bought raw kombucha as a starter (boosting acidity and microbes), and moving her jar to a warmer spot, her brew sprang to life within 24 hours. This highlights how critical initial pH and active starter are.
Method 1: The Warmth Solution – Optimizing Fermentation Temperature
As I mentioned, temperature is paramount. It's the thermostat for microbial activity. If your brew is too cold, the microbes are essentially hibernating. This is often the easiest and safest way to restart a sluggish fermentation.
- Identify Cold Spots: First, confirm your brew's temperature. If it's below 70°F (21°C), you've found a likely culprit.
- Relocate Your Brew: Move your fermentation vessel to a warmer location. This could be the top of your refrigerator (which often emits gentle heat), a pantry shelf near a warm appliance, or a dedicated brewing corner.
- Use a Fermentation Heating Pad: For consistent and reliable warmth, I highly recommend a fermentation heating pad with a thermostat. Wrap it around your brewing vessel or place it underneath, setting it to maintain a temperature between 75-80°F (24-27°C). This provides gentle, even heat, preventing temperature fluctuations.
- Insulate: If a heating pad isn't an option, consider insulating your jar. Wrap it in a towel, a sweater, or even place it in a small cooler with a warm (not hot!) water bottle for a few hours. Just be careful to monitor the temperature to avoid overheating.
Once the temperature is optimized, you should see increased activity within 24-48 hours – tiny bubbles, a new film forming on the surface, and a more vinegary aroma. Patience is key here; don't expect instant results, but be observant.
Method 2: Boosting with Fresh Starter – Revitalizing Your Brew
If temperature isn't the primary issue, or if your pH was initially too high, your brew might be lacking a sufficient population of active microbes or enough acidity to get going. This is where adding fresh, robust starter tea comes in handy.
- Assess Your Current Starter: If your initial starter tea was weak, old, or insufficient in quantity, your brew might never have reached the optimal acidic environment needed for fermentation.
- Source a Strong Starter: Obtain 1-2 cups of unflavored, raw, unpasteurized kombucha from a reputable source. This could be a bottle from the grocery store (ensure it's truly raw and active, usually found in the refrigerated section), or a fresh batch from a trusted brewing friend. Ensure it's not flavored, as added ingredients can sometimes hinder fermentation.
- Add to Your Brew: Gently pour the fresh starter tea into your stalled brew. If you have a healthy, active SCOBY, you can keep it in. If your existing SCOBY seems unhealthy or suspicious, remove it and replace it with a new, healthy one if possible (though the fresh starter tea often contains enough active microbes to form a new pellicle).
- Stir Gently (Optional): If your SCOBY is removed, you can gently stir the brew to distribute the new starter tea. If the SCOBY is present, avoid disturbing it too much.
- Monitor pH and Activity: Recheck the pH. It should now be lower, ideally below 4.5. Place your brew back in its optimal temperature environment and monitor for renewed activity.
This method works by re-introducing a powerful dose of active bacteria and yeast, along with vital acidity, kickstarting the fermentation process. It's like giving your microbial city a fresh wave of energetic new recruits. 
Method 3: The Sugar Surge – A Gentle Nudge for Yeast
Sometimes, your microbes just need a little extra fuel to get going, especially if the initial sugar content was a bit low or if the fermentation has slowed significantly due to sugar depletion before reaching desired tartness. This method should be used cautiously, as too much sugar can also create an environment conducive to unwanted yeast growth.
- Assess Sweetness: Taste your brew. If it's still notably sweet with little tartness after an extended period, it might benefit from a sugar boost.
- Prepare a Sugar Solution: Dissolve 1-2 tablespoons of organic cane sugar in about 1/4 cup of hot water. Stir until completely dissolved, then allow it to cool completely to room temperature.
- Add to Brew: Gently pour the cooled sugar solution into your fermentation vessel. Avoid disturbing the SCOBY excessively.
- Monitor: Place your brew back in its optimal temperature environment and monitor for increased bubbling and activity. This additional sugar should give the yeast a quick energy boost.
This method is particularly useful if you suspect the initial sugar wasn't fully bioavailable or if the yeast population needs a gentle awakening. It's a fine line, though, as too much sugar can lead to an overly yeasty flavor or even mold if other conditions aren't ideal. Always proceed with caution.
Method 4: SCOBY Health Check and Replacement
Your SCOBY is the heart of your kombucha. If it's not healthy, your fermentation will suffer. A stuck brew can sometimes be a symptom of a tired or compromised SCOBY. I've often seen brewers cling to an old SCOBY out of sentiment, when a fresh start is truly what's needed.
- Examine Your SCOBY: Carefully remove your SCOBY from the brew. A healthy SCOBY should be firm, translucent to opaque, and have a uniform color (creamy white, light brown, or even greenish from tea particles). It might have dark brown stringy bits (yeast strands), which are normal.
- Signs of an Unhealthy SCOBY:
- Mold: Fuzzy, dry, colored spots (green, black, white) are definitive signs of mold. Discard the SCOBY and the entire batch.
- Disintegration: If the SCOBY is falling apart into mushy pieces, it's likely too old or damaged.
- Unusual Smell: While the brew itself should smell vinegary, an unhealthy SCOBY might have a distinctly foul or putrid odor.
- Consider Replacement: If your SCOBY shows signs of ill health, it's time to replace it. You can:
- Obtain a new, healthy SCOBY from a trusted friend or online supplier.
- Grow a new SCOBY from a bottle of raw, unpasteurized kombucha. This takes time but is a reliable method.
- Restart with Fresh Ingredients: If replacing the SCOBY, it's often best to start a fresh batch of sweet tea with your new SCOBY and plenty of strong starter tea. Don't risk transferring potential issues from the old brew.
Remember, a SCOBY isn't immortal. Over time, its microbial balance can shift, or it can simply become less active. Knowing when to retire an old friend and embrace a new one is a crucial part of being an experienced fermenter. Cultures for Health offers excellent resources on identifying and maintaining a healthy SCOBY.
| Troubleshooting Step | Potential Issue Addressed | Expected Outcome |
|---|---|---|
| Check Temperature | Sluggish microbes due to cold | Increased bubbling, faster fermentation |
| Add Fresh Starter Tea | Insufficient active microbes, high pH | Lower pH, robust fermentation initiation |
| Add Small Amount of Sugar | Low sugar fuel for yeast | Temporary yeast boost, increased activity |
| Replace SCOBY | Unhealthy or inactive SCOBY | Fresh, vigorous fermentation |
Advanced Troubleshooting: Acidity, Contamination, and Airflow
While the previous methods cover most common scenarios, sometimes a stuck fermentation requires a deeper dive into the less obvious factors. As an industry specialist, I've learned that sometimes the devil is in the details, especially when dealing with complex microbial ecosystems.
Acidity Imbalance (Beyond Initial pH)
Even if your initial pH was good, sometimes the acetic acid bacteria struggle to produce enough acid, or other factors inhibit their activity. If your brew is still sweet but tastes 'flat' rather than tart, even after adding starter, you might need a stronger acid boost. I occasionally recommend adding 1-2 teaspoons of distilled white vinegar (5% acidity) to a large batch (1 gallon) if all other methods fail and there's no mold. This is a last resort, as the goal is for the SCOBY to produce its own acid. However, it can sometimes provide the necessary kickstart to drop the pH into a safer zone and encourage the acetic acid bacteria.
Contamination Concerns
Contamination is the brewer's worst nightmare, but it's crucial to address. Beyond visible mold, off-smells (like nail polish remover, vomit, or rotting food) are strong indicators of unwanted microbial growth. These often arise from insufficient sanitation, using non-food-grade containers, or exposure to airborne contaminants. If you suspect contamination beyond mold, it's safest to discard the entire batch, thoroughly sanitize all equipment, and start fresh. Don't risk your health for a batch of kombucha.
Airflow and Vessel Choice
The type of vessel and how it's covered can impact fermentation. Kombucha needs oxygen for the acetic acid bacteria to thrive, but it also needs to be protected from airborne contaminants. A tightly woven cloth cover (like a coffee filter secured with a rubber band) is ideal. Avoid airtight lids during the first fermentation. Conversely, if your brew is in an area with excessive airflow or strong drafts, it might struggle to maintain a stable temperature and could be exposed to more contaminants. Ensure your vessel is in a calm, protected spot.
"Patience is a virtue in brewing, but vigilance is its partner. Always observe, always assess, and never hesitate to course-correct based on what your brew is telling you." - A lesson learned from years of fermenting.
Preventative Measures: Ensuring Consistent Fermentation Success
The best way to restart a stuck kombucha fermentation is to prevent it from stalling in the first place. Over the years, I've developed a set of best practices that significantly reduce the likelihood of issues. Think of these as your brewing commandments for robust, healthy kombucha.
- Maintain Optimal Temperature: Invest in a reliable heating pad and thermometer. Consistently keep your brew between 75-80°F (24-27°C). A stable temperature is the single most important factor for consistent fermentation.
- Use a Robust Starter: Always use at least 1-2 cups of strong, unflavored, raw kombucha starter tea per gallon of sweet tea. This ensures a low initial pH (below 4.5) and a healthy microbial population from the start.
- Healthy SCOBY Management: Keep a SCOBY hotel (a jar of SCOBYs submerged in very strong starter tea) as a backup. Regularly inspect your active SCOBY for health. Don't be afraid to retire an old, sluggish SCOBY.
- Proper Sanitation: Cleanliness is next to godliness in brewing. Always sanitize your hands, brewing vessel, and any utensils that will come into contact with your brew. A simple solution of white vinegar or Star San works wonders. Avoid antibacterial soaps or harsh chemicals.
- Quality Ingredients: Use organic black or green tea (or a blend) and organic cane sugar. Avoid teas with added oils (like Earl Grey) or artificial sweeteners, as these can harm your SCOBY.
- Consistent Environment: Place your brew in a quiet, dark, and still location away from direct sunlight, strong odors (like cooking fumes or cleaning products), and drafts.
- Regular pH Monitoring: Especially for new brewers, regularly checking the pH during the initial stages can help you catch issues before they become major problems.
By adhering to these preventative measures, you'll build a strong foundation for consistent, successful kombucha brewing. It's about creating an environment where your SCOBY can thrive, rather than just survive. The FDA provides information on acetic acid, the primary acid in kombucha, underscoring its role in food safety and preservation.

Frequently Asked Questions (FAQ)
Q: My kombucha has a thick, slimy layer on top, but it's not fuzzy. Is it mold? A: No, that's likely a new pellicle forming! A healthy SCOBY (pellicle) can be thick, opaque, and even have stringy brown yeast strands hanging from it. Mold is typically fuzzy, dry, and appears in distinct, colored patches (green, black, white) on the surface, not submerged. Trust your nose – if it smells vinegary, it's probably healthy.
Q: How long should it take for fermentation to restart after I try one of these methods? A: Typically, you should see signs of renewed activity (small bubbles, a new film forming, a more vinegary aroma) within 24-72 hours, especially if you addressed the root cause like temperature or added fresh starter. Be patient, but if nothing happens after 3-4 days, consider trying another method or reassessing your initial diagnosis.
Q: Can I use flavored kombucha from the store as a starter tea to restart my brew? A: I strongly advise against it. Flavored kombucha often contains added fruits, juices, or extracts that can introduce unwanted microbes or sugar types that may not be conducive to a healthy primary fermentation. Always opt for plain, unflavored, raw kombucha as your starter.
Q: My SCOBY sank to the bottom. Is it dead? A: Absolutely not! A SCOBY sinking or floating has no bearing on its health or the success of your fermentation. It's perfectly normal for it to sink, float, or even hang sideways. What matters is the health of the liquid and the formation of a new pellicle on the surface, which is often a sign of active fermentation.
Q: What if I've tried everything and my kombucha still won't ferment? A: If you've gone through all the troubleshooting steps – optimized temperature, added fresh starter, checked pH, ensured good SCOBY health, and ruled out contamination – and your brew remains stubbornly inactive, it might be time to accept defeat for that particular batch. Thoroughly clean and sanitize all your equipment, obtain a completely new, healthy SCOBY and strong starter tea, and start fresh. Sometimes, a clean slate is the best solution to persistent issues.
Key Takeaways and Final Thoughts
A stuck kombucha fermentation can be a disheartening experience, but it’s rarely the end of your brewing journey. As an experienced fermenter, I've learned that patience, observation, and a methodical approach are your best tools for success. Remember, kombucha brewing is a living process, and occasional hiccups are part of the learning curve.
- Diagnose First: Always start with a thorough visual, smell, and pH assessment to understand the root cause.
- Temperature is King: Ensure your brew is consistently in the 75-80°F range.
- Boost with Confidence: Don't hesitate to add robust, fresh starter tea if your brew is sluggish or acidic.
- SCOBY Health Matters: Regularly assess your SCOBY and replace it if it's unhealthy or old.
- Prevention is Best: Implement strict sanitation, use quality ingredients, and maintain optimal conditions to avoid future stalls.
You now have the knowledge and the actionable steps to confidently restart a stuck kombucha fermentation safely and effectively. Don't let a stalled brew deter you from the joy and health benefits of homebrewed kombucha. With these strategies, you're not just fixing a batch; you're becoming a more skilled, resilient, and knowledgeable fermenter. Keep brewing, keep learning, and enjoy the delicious rewards!
For further research into microbial health and fermentation, explore academic resources.Recommended Reading
- Stop Mirror Glaze Cracks: 7 Pro Steps for Flawless Frozen Pastries
- Solved: Why Does My Tart Crust Crack During Baking? The Secrets Revealed!
- 7 Pro Tips: Crispy Air Fryer Food Without Drying It Out
- 5-Step Method: Gourmet Air Fryer Meals, Zero Time Sacrificed?
- The Ultimate Guide: How to Safely Can Fruit Without a Pressure Canner



0 Comentários: